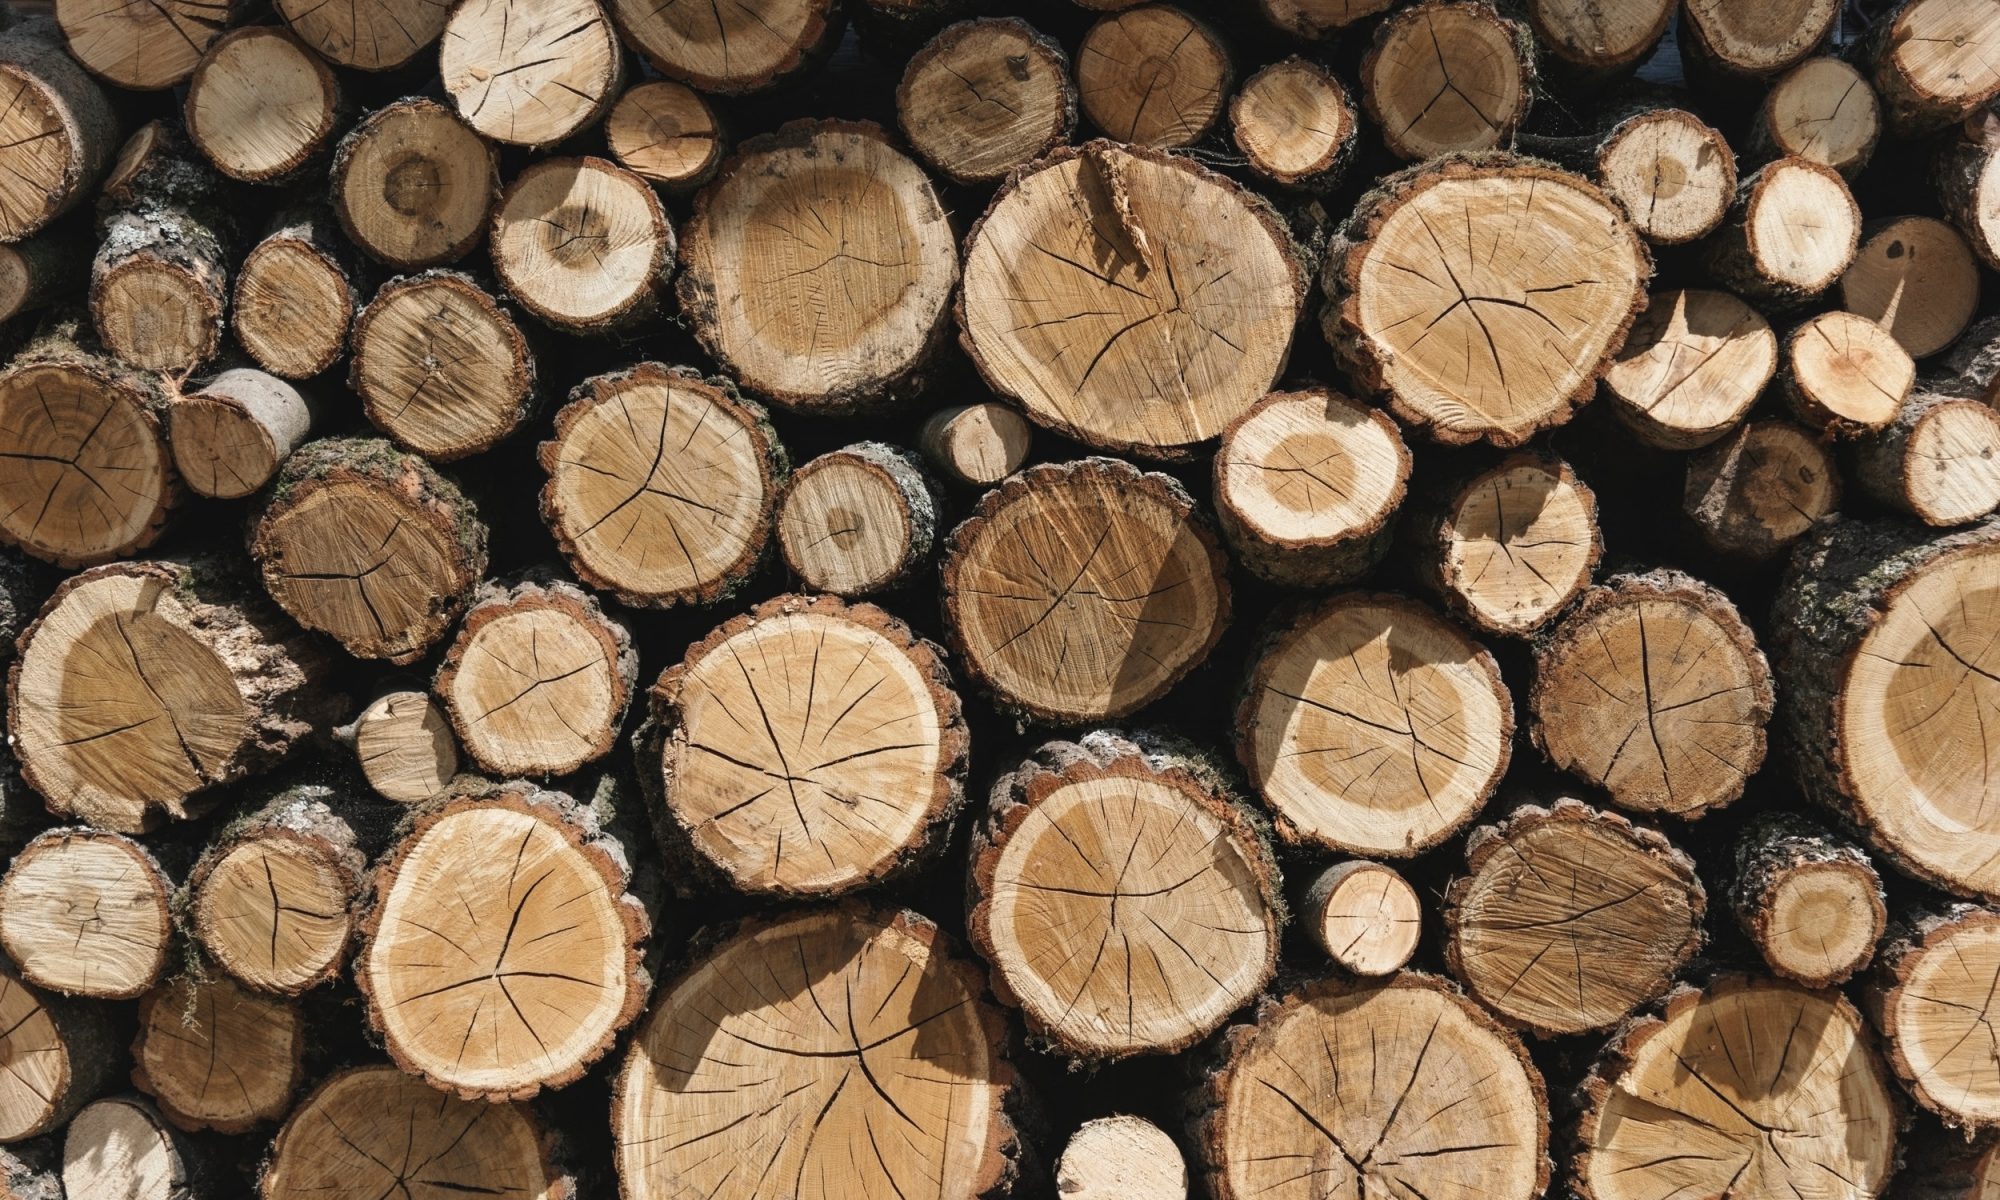
Our meeting on Thursday 20th July 2023 was organized by Geoff Potter, Geoff’s theme for the evening was to make something that included some natural elements in the turning, it could be anything, a vase, a bowl or anything else, the turners just had to leave some Natural Elements in the final turning.
Geoff had all 5 of the club lathes in use with 4 turners plus himself, there was quite a difference in most of the turnings. Geoff was using a branch of Laburnum, Nick Simpson was using a piece of Silver Birch, David Hutcheson had a piece of Elm, Bob Chisholm had a piece of Birch and Alan Ross was working with a piece of Native Cherry.
As the turning began I took a few pictures for you to get an idea of what each turner was to produce, here are some of them .
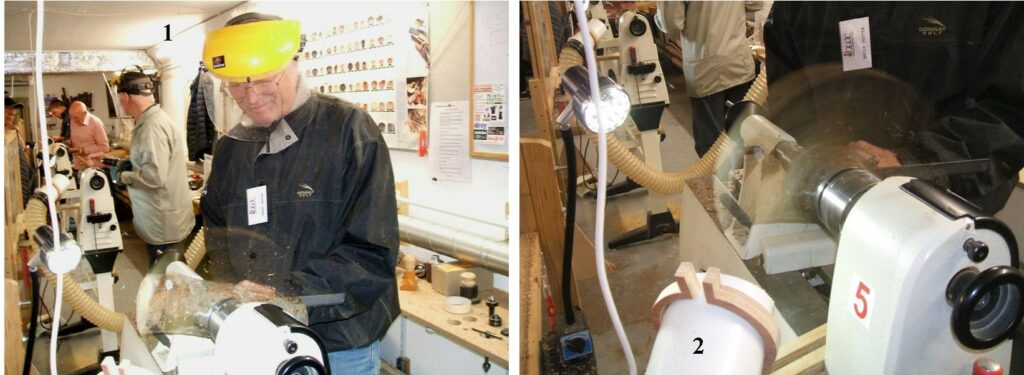
Picture 1, this is Geoff Potter getting started on his project, Geoff was using a piece of Laburnum branch wood that measured about 300mm long by about 75mm in diameter, this was to produce a long narrow turning with a small bowl at it’s heart. Picture 2, you can just make out the ghost that is produced when turning this type of thing, the speed is going to be around 800RPM, great care needs to be adopted when working with this type of turning.
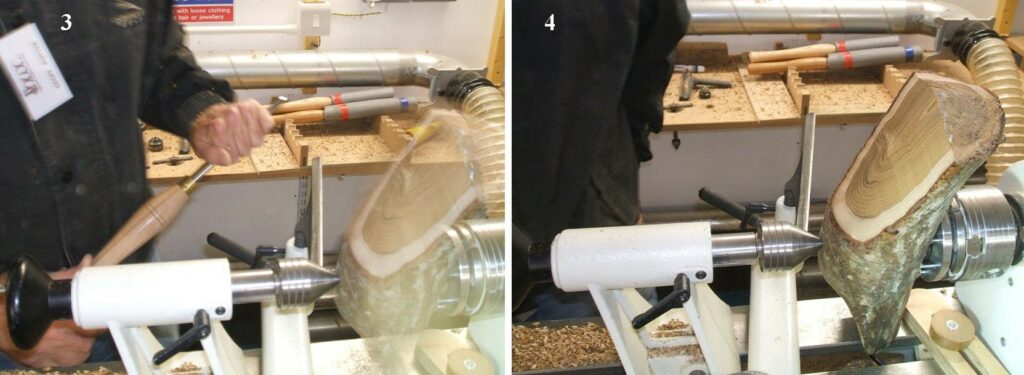
Picture 3, here Geoff can be seen just about to make another cut on the base, the speed along with the shape is producing the ghost appearance, the stroboscopic effect in this picture shown gives the impression that it’s nearly stopped, this is something to be aware of when turning this type of work. Picture 4, this picture does show the work piece stopped, it also shows the extent of the turning so far.
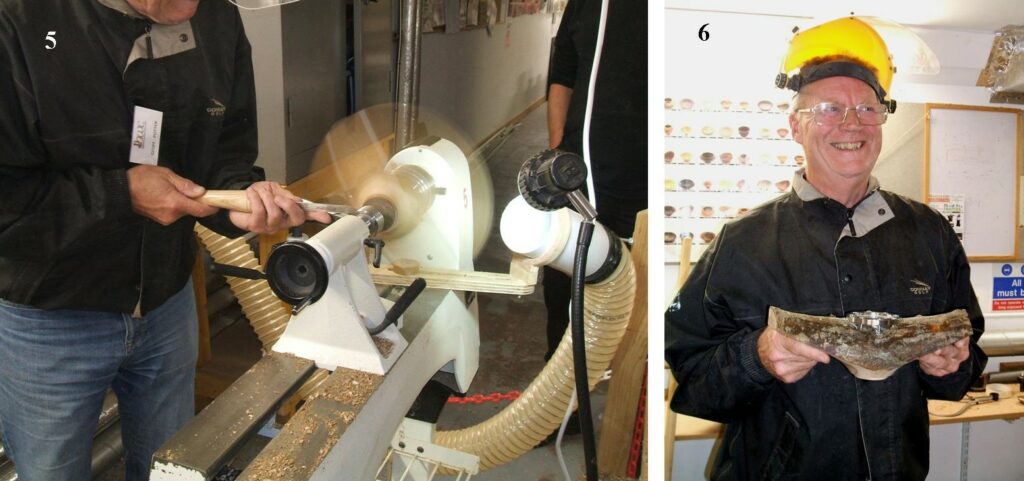
Picture 5, here Geoff is working on the base, the ghost created by the shape and the speed can be seen very clearly in this picture. Picture 6, Here we see Geoff holding one of his part finished turnings, he would go on to work the top side to a shape familiar to that of a propeller with a small dished bowl at the centre.
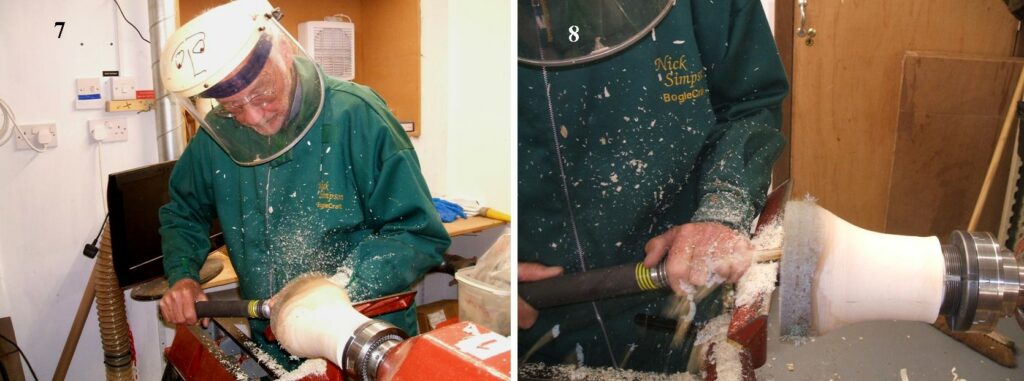
Picture 7, Nick Simpson as he starts his project, Nick was using a piece of Silver Birch that was recently cut down so was still quite wet. Picture 8, Here Nick can be seen working the inside of his project, he is turning a bowl type of goblet in end grain, and taking the side walls to a very fine thickness, somewhere about 2 to 3mm in thickness.
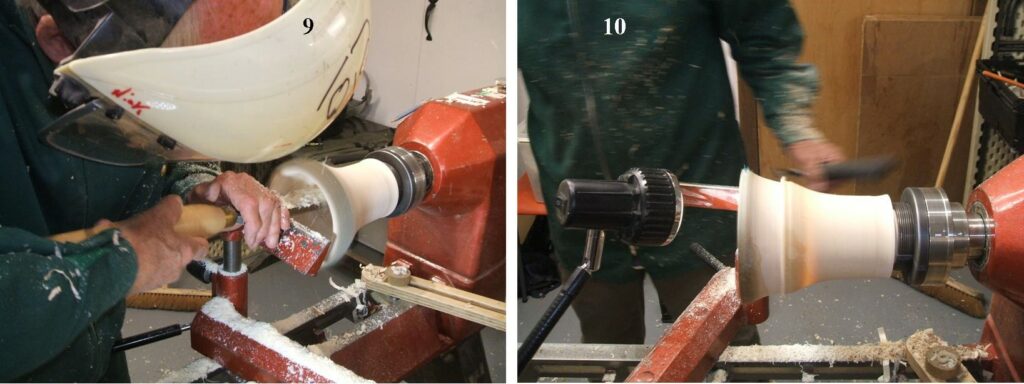
Picture 9, still working the inside with quite a large scraper. Picture 10, Nick had positioned the light to shine inside the bowl to show him the thickness, this is achieved by cutting the wood away on the outside until the light can be seen glowing from the inside, he would keep applying some water sprayed on to keep it moist, this works very well with moist wood.
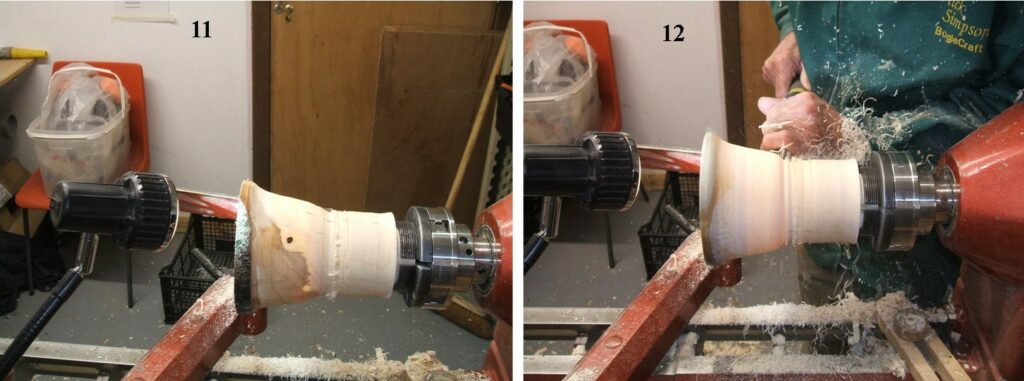
Picture 11, the bowl shape almost complete, you can see the light showing from the inside. Picture 12, Nick makes a start on shaping the stem and foot of his project.
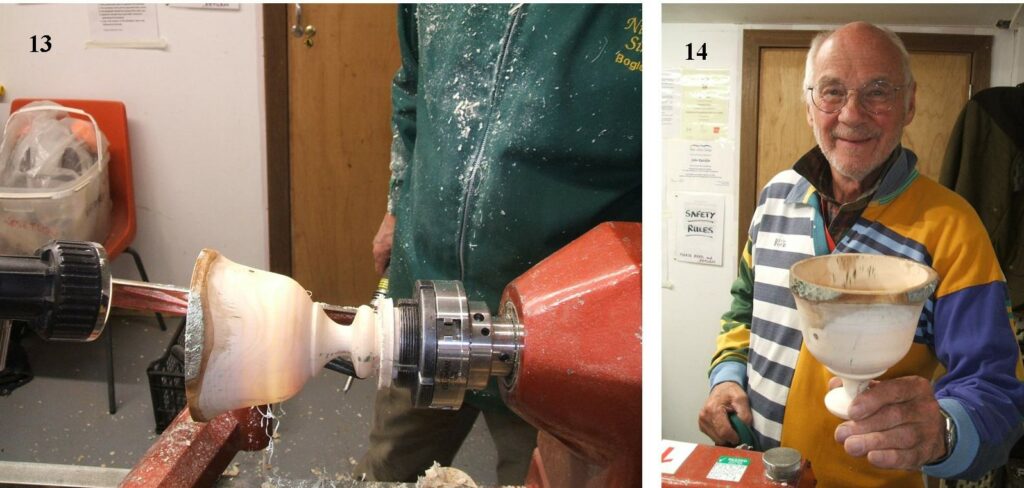
Picture 13, the stem and foot now nearly complete, the light can be seen clearly shining through the moist timber. Picture 14, here Nick is holding his finished bowl.
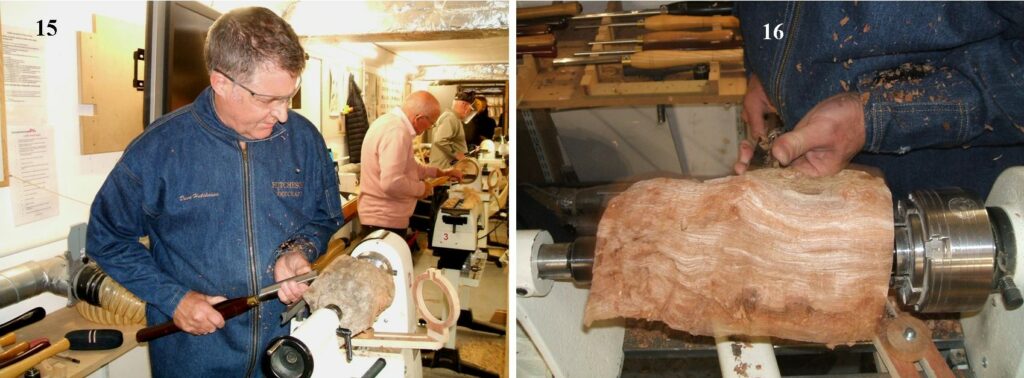
Picture 15, here we have David Hutcheson making a start on his project. Picture 16, David brought in a piece of Elm Burr that was not the prettiest piece of wood, but he would go on to make it into a very nice Vase whilst still leaving some Natural Elements in it.
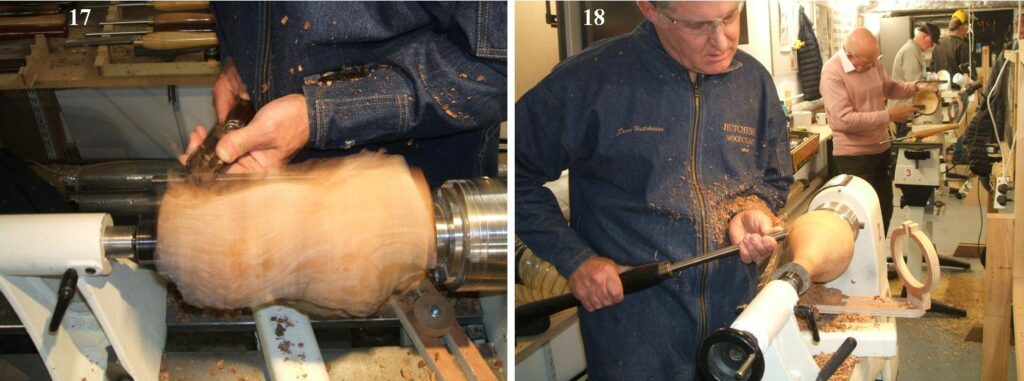
Picture 17, here David can be seen working on the shape of his Vase, there is a certain amount of ghosting as it’s being turned, this comes about by the wood not being evenly shaped all round, this would disappear as the turning progresses. Picture 18, Now David is getting closer to his finished shape.
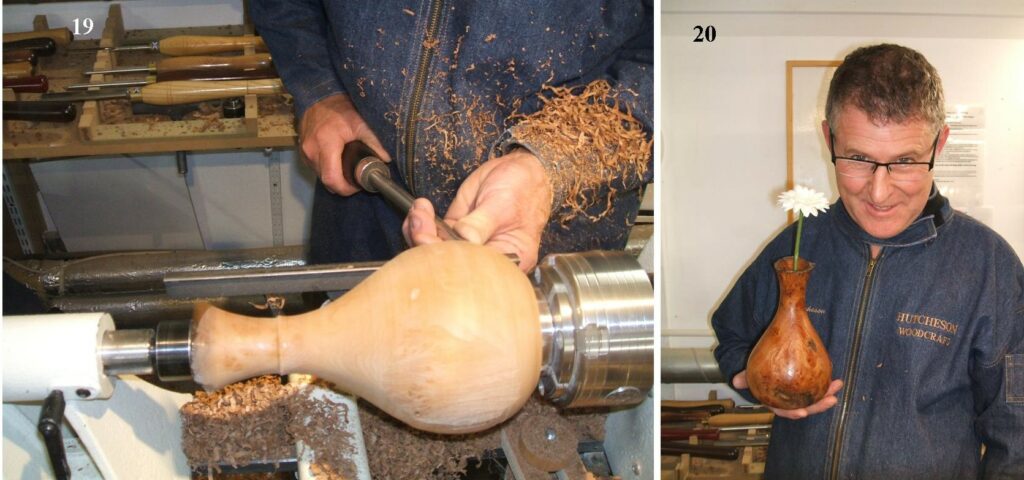
Picture 19, Here David can be seen making the final cuts on the outside, he would go on to seal and polish the outside, he also drilled a hole in the vase using the tailstock with a long reach drill for the stems of the artificial flowers. Picture 20, Here is David with his finished Vase.
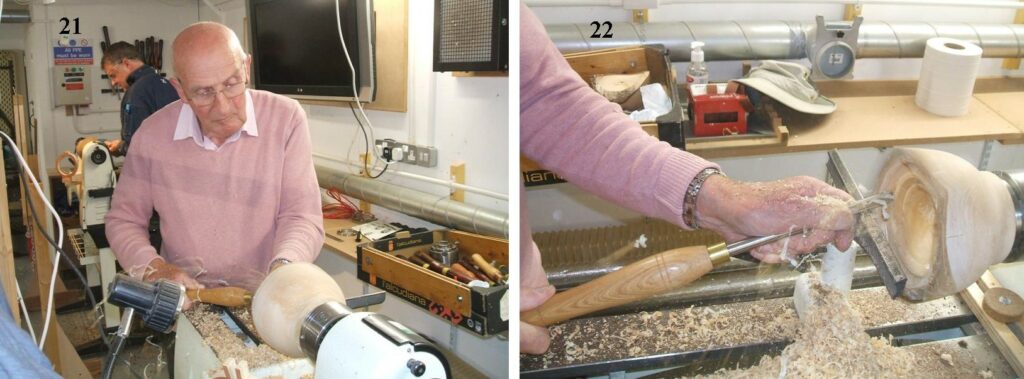
Picture 21, here we have Bob Chisholm making a start on his project, Bob was to make a Natural Edged Bowl from a Birch log. Picture 22, Bob had shaped the outside before coming to the club, here he can be seen working the inside of his bowl.
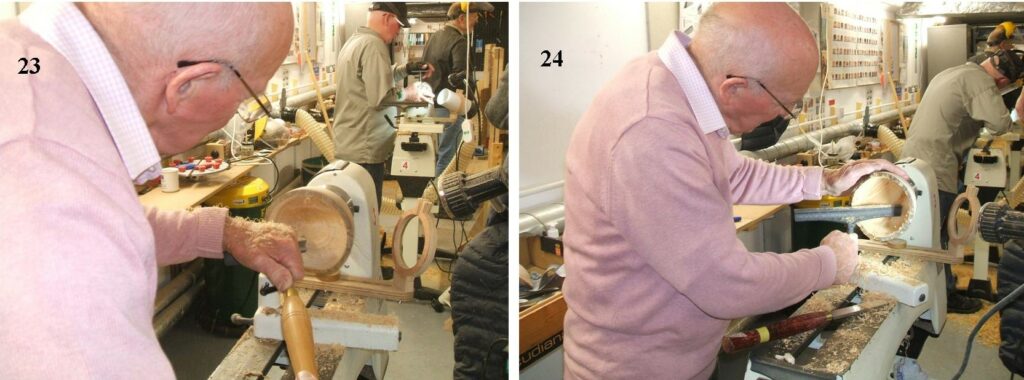
Picture 23, Here Bob can be seen getting close to the final cuts on the inside of his bowl. Picture 24, Bob is repositioning the tool rest for the final cuts.
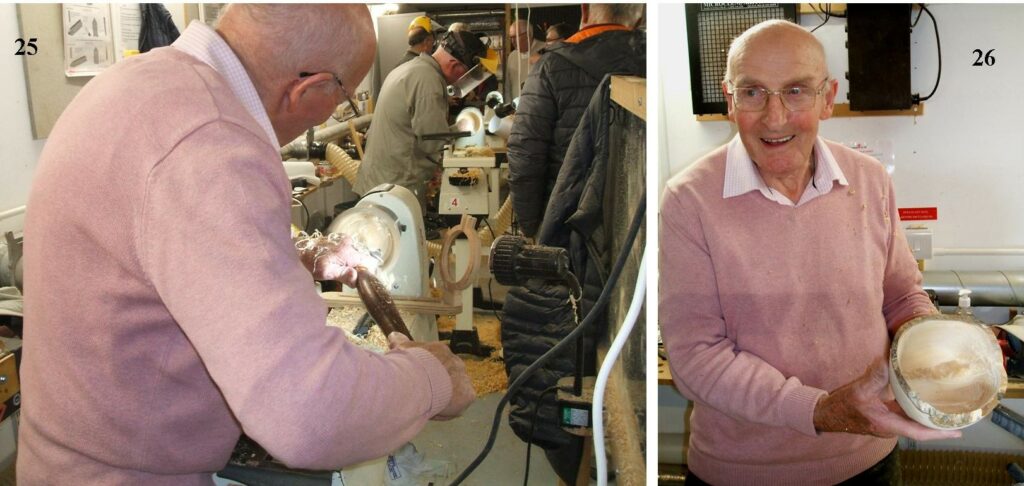
Picture 25, here Bob is taking the final cut, he would go on to sand and seal the bowl. Picture 26, here is Bob with his finished Natural Edged Bowl.
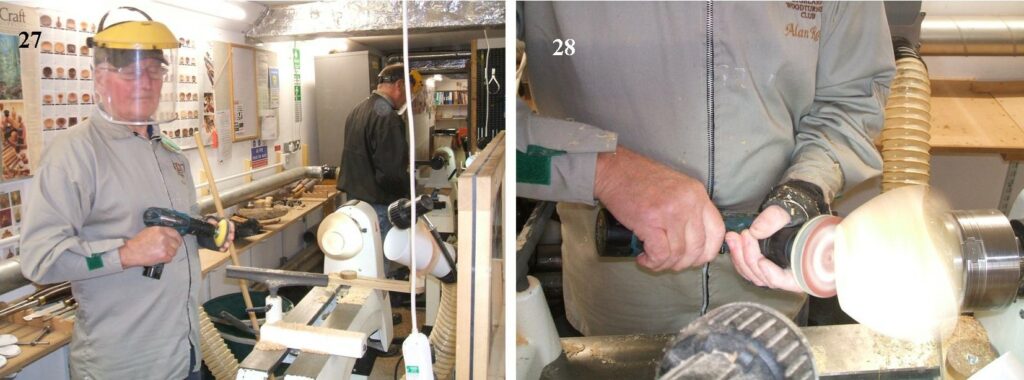
Picture 27, Here we have Alan Ross working on a piece of Native Cherry, he was about to power sand the outside. Picture 28, the power sanding in progress, Alan uses the velcro sanding pads system.
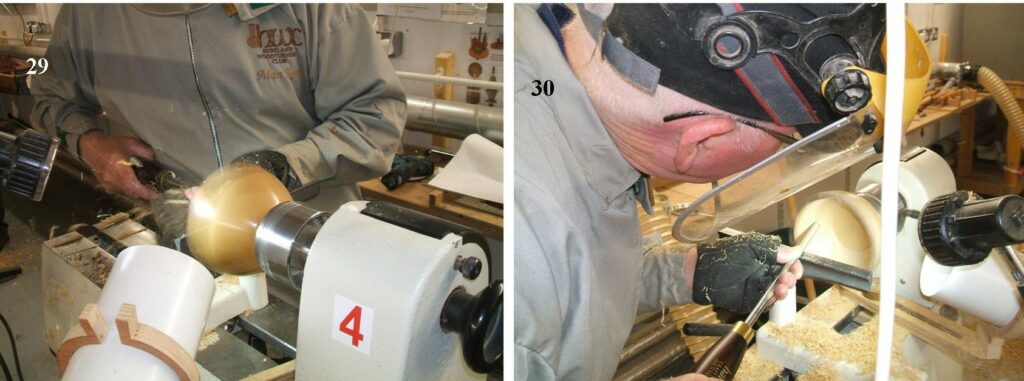
Picture 29, Alan has sanded, sealed and polished the outside, here he is making a start on hollowing out the inside. Picture 30, the inside making good progress using a 3/8th bowl gouge.
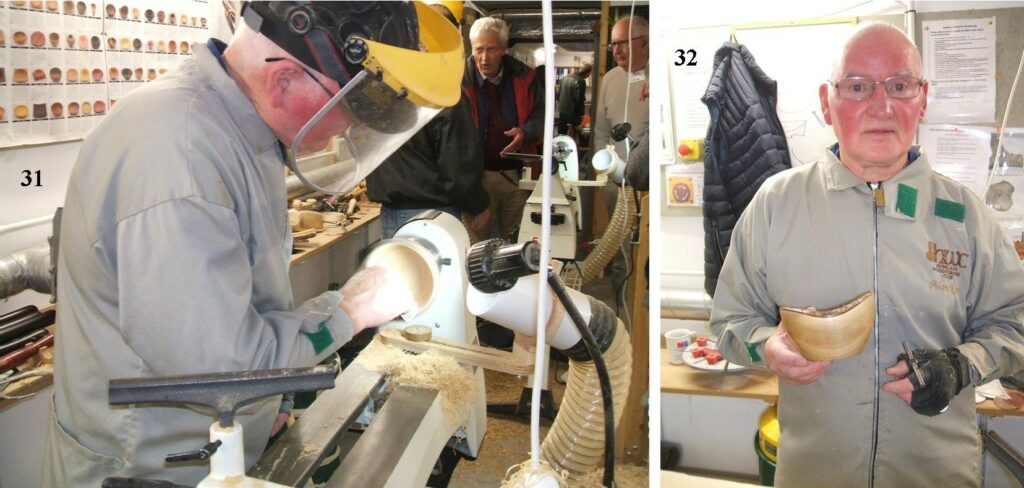
Picture 31, Alan had finished with the tool work on the inside, now we can see him sanding the inside, he would go on to seal and polish the inside. Picture 32, Here we can see Alan with his finished Natural Edged Bowl.
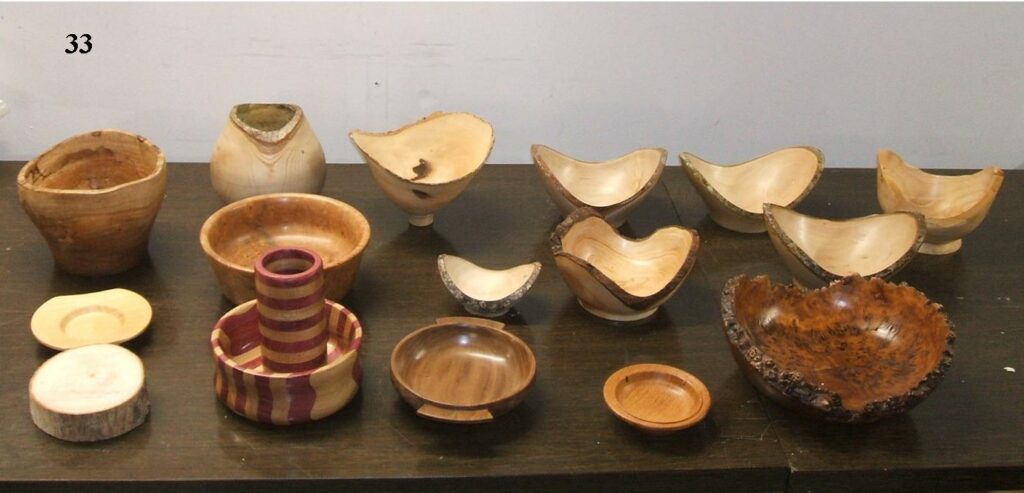
Picture 33, here are some items that the members brought in for our show table. We encourage our members to bring in anything they have made at every meeting, some are more successful than others for the amount of items brought in, as this meeting was all about Natural Edged Turnings it is one of the most popular of subjects that the members like to do and see. Not all the items shown here are Natural Edged, but they are just as welcome , we want to see anything that any of you have made.
That concludes the Natural Edged Turnings meeting and thanks to Geoff for organizing it.
Our next meeting is on the 3rd August 2023, it’s being organized by Nick Simpson and the theme for the meeting is working with a 4 inch square cube, there should be all 5 lathes in use and it will be interesting to see what each turner comes up with when working the cube. Hope to see you all there.
