Our normal Showtime meeting had to be cancelled due to the ongoing lockdown, however we made it a virtual meeting instead and invited our members to submit some pictures of the items they would have brought to the Showtime meeting. After some initial hesitancy in getting the members to take part, it all came together at the last minutes with 13 of our members submitting some 57 pictures, most accompanied by some text from the members.
I have split this into 2 parts, the first being the text or comments from each member, the 2nd a picture gallery of all 57 pictures.
Pictures 1 to 4 from Alec Macleod.
Hope everyone is well and coping ok in these troubled times. Attached are photos for showtime. Left to right witch elm burr, 10’ x 3.5’. The other two are spalted beech both from the one piece with the help of David Hay’s bowl saver. Large is 11’ x 3.5’ and the small 9’ x 2.5’. Really hope you get enough interest to keep the showtime going as I look forward to seeing what everyone is busy producing. Sorry I didn’t enter for the natural edge as I went through the bottom and ended up with firewood! All the best.
Alec Macleod.
Pictures 5 to 12 from Andy Smith.
Good
Morning both of you and I hope you are keeping well.
Until I
was furloughed recently along with a large % of the UK work force; in between 4
hours work daily from my “virtual office”, I have spent some time
clearing and setting up my workshop, and have managed to produce alongside 2
bags of shavings,
The
pieces are in the attached zip files photos. I hope they are good enough to
use. ( I may need to send a couple of messages due to their size.)
I have
also produced various dibbers for the other half and friends to assist them in
the garden during the exceptional weather we have had whilst being locked down.
As you
will see there is a theme and these pieces are my first attempts at ”
turning and associated wood working ” since my schooldays 50 years ago!!
I have a
lot to learn and look forward to getting back to meetings which have been good
source of information and knowledge for me.
Keep safe
and thanks.
Andy Smith.
Pictures 13 to 16 from David Hutcheson.
Hi
Alec,
Totally
forgot to send images for showtime as I’ve been busy with firewood etc. I’ve
attached a few images for the boys to see. The Sycamore with the pyrography
detail is for a child’s stool I’m working on. The detail is hand drawn and then
burnt on and finished with melamine lacquer. The set of egg cups are in
Sycamore with wire burnt lines and I find these are a great exercise in repeat
turning as it’s harder than it looks to get 6 egg cups exactly the same or
maybe that’s just me! Finally theres the wee elm hollow form which was saved
from the firewood pile. It’s hollowed to about 3/4mm and has ebonised Ash for
the stem and finial. The elm is finished with melamine lacquer and the
ebonising was achieved by using chestnut finishes ebonising lacquer. I like the
way the satin contrasts the gloss. Hope these are of interest and everyone is
well and staying safe.
Cheers Dave Hutcheson.
Pictures 17 to 19 from Dave Line.
Hi Alec,
As this
Thursday should have been showtime I thought I would show what I would have
brought along under normal circumstances..
I made it
for the Box competition but when finished decided it was a hollow form and not
a box, It stands 150mm high and the lid is 90mm and 140mm Dia.
It is
made from Ash with the feature ring beeing Sapele and sycamore..
It is
finished with wood wax and friction polish.
Dave Line.
Pictures 20 to 23 from Errol Levings.
Just a quick show and tell from me.
Two knitting bowls (with lids – barrels?) On the left, single piece of pitch pine ex Fort Augustus Abbey, and still smells strongly! On the right, much spalted alder with elm handle. My earlier knitting bowls had narrow slots for the wool thread – after seeing a ceramic knitting bowl recently, I decided the wide slot shape would be better to allow the ball to unwind more easily. These bowls are 130×200 mm and 145x200mm respectively. The barrel still on the lathe as I send these is the next knitting bowl in ash which will be open top. I have left some of the bark on the sides as it looked very attractive, but had to be turned away from the top to avoid snagging the wool thread. it is approx 175 x 230mm and was quite difficult to hollow out. It has helped me sort of master the Big Brother hollowing tool – and another lesson on the importance of keeping the cutting edge very sharp if you want any real control over the cut.
And a bit of decorated fun(gus!) This is from a branched piece of hawthorn that has spalted – it was a bit cracked and quite soft – I can’t recommend it for turning. Maybe fresher piece would be OK for turning and the wood is reasonably close grained, but this one went back to 2007 felling I came across in trying to do a bit of tidying up of my overflowing wood store.
I hope you get some more response from the members. I am not very fond of Facebook or any of the other social media, and I suspect many of the club members are likewise minded. I am happy with emails, though, to alert/remind me to head to the HWC web page!
Cheers
Errol Levings.
Pictures 24 to 28 from Geoff Potter.
Alec 3
photos for showtime 1.
4 weeks
ago these pieces of birch were about to break into leaf in my neighbours
garden. My neighbour’s chainsaw stopped it in its tracks. He kept a large
crotch and a smaller crotch for me which I quarantined for 3 days. I split the
pieces with an axe and turned them still green. In fact the sap sprayed the
wall behind! I used a screw chuck on the bark top side, turned a spigot or
mortise on the base and completed the rough turning all at once. I have left
the bases and sides about 15mm thick so I can return to finish them off when
they have dried a bit. They have been in and out of a plastic bag since I
turned them. They are now much drier and there is no sign yet of any cracking.
Green turning is so exciting, the shavings go over your shoulder in ribbons. As
usual I got carried away and the bases are a bit thinner than I intended. The
bark is still on and they will end up as natural edge bowls. I stupidely turned
off the spigot on the smaller ones due to over enthusiasm, so I will need to
devise a jam chuck to finish those off!!
Geoff
Potter
2 photos
for showtime 2. Pictures 4 & 5.
This is
the completed jewellery tree which I was making at the Club meeting in January,
so long, long ago. The body of the tree is made by off centre turning. The
eccentric centres on the revolving centre end are c. 10 to 15mm offset only.
The head end is gripped in the chuck and stays there all the way through. I
made a softwood practice version to test the looks of the design.
The base
has a top recess for earrings. The little arms are for rings and bracelets. The
neck can be used for necklaces.
The
finished article is completed with sanding sealer followed by melamine.
Geoff Potter
Pictures 29 to 33 from Hamish Stuart.
Hello
Alex ,not sure if these are any good for the web but saw your plea for items
.All these were made from spare bits of wood that I have been practicing on for
a wee while. Have no idea what kind of wood but I’m quite happy with the
results. Feel free to put any of these on the site along with any comments .
Regards
Hamish Stuart.
Pictures 34 to 38 from Jeff Buttress.
Attached
are my woodturning efforts this week.
The live
edge ‘bowl’ is 165mm long x 65mm high from a full laburnum branch at 100
diameter. Due to the small size of the timber I started with I ended up with a
spigot rather than a recessed foot. I should have started with a larger
diameter log but my lathe doesn’t have the weight to safely hold an unbalanced
piece of timber. I will have to leave this type of turning until I have a
heavier more robust lathe. I had a bit of a problem sanding the inside wings
and finally did these with a bowl sander attachment on an electric drill with
the lathe switched off. The two mushrooms were from a yew log I won in the club
raffle 70mm diameter x 270mm long and cut in half. I used a hot glue chuck with
tailstock support and I’m quite please how these turned out. I did have a bit
of a problem with the undercut between the stem and cap, I had a few dig ins!
Finally used 6mm parting tool then very light cuts with spindle gouge but I was
very apprehensive during this stage, the second mushroom was a bit better in
this area. Once parted off I had a bit of a job getting rid of the centre nib,
I left it a bit on the large size for cutting off by hand. I’m going to do a
bit more work on the bases of the mushrooms to get a better finish. All 3
pieces finished with sanding sealer then melamine lacquer.
Jeff Buttress
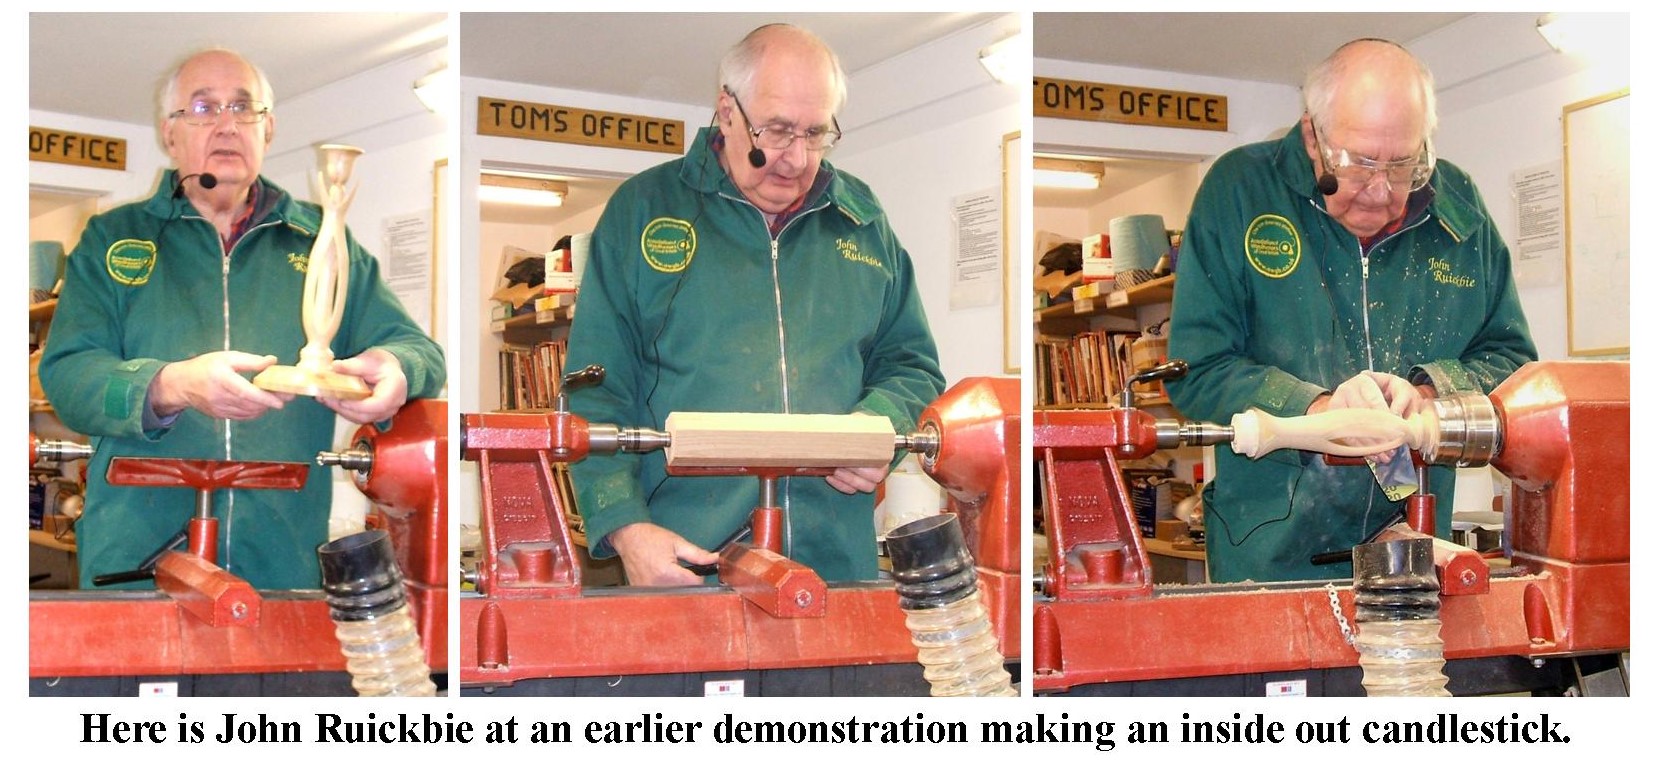
Pictures 39 to 45 from John Ruickbie.
For showtime
I decided to make a segmented bowl using
the Indian blanket pattern as described
in the book by Malcolm Tibbets. I have made this design before but thought it would be something
different and had some bits of beech and elm which could be used in strips as
they weren’t very much use for any other use. This pattern makes quite a large
segment so a large bowl is the result. For the feature ring I used wenge and
sycamore I took a chance with this
combination as the wenge bleeds into the sycamore. I was able to finish the
outside with a good cut off the tool leaving minimal sanding but some bleeding occurred
on the inside. Another error occurred with the block sizing leaving to little
room at each end but I carried on regardless. I have included some pictures during
the construction showing the multi lamination method of building the block. The
final block consists of two half blocks glued together hopefully the pictures
will show this.
Regards,
John Ruickbie.
Picture 46 from Martyn Torode.
Had a go at some toadstools today, got some pieces
of what I think is cherry from the stick shed so not well seasoned. The biggest
one is 7 inches tall and all finished with wax polish.
Hope you’re well.
Martyn Torode.
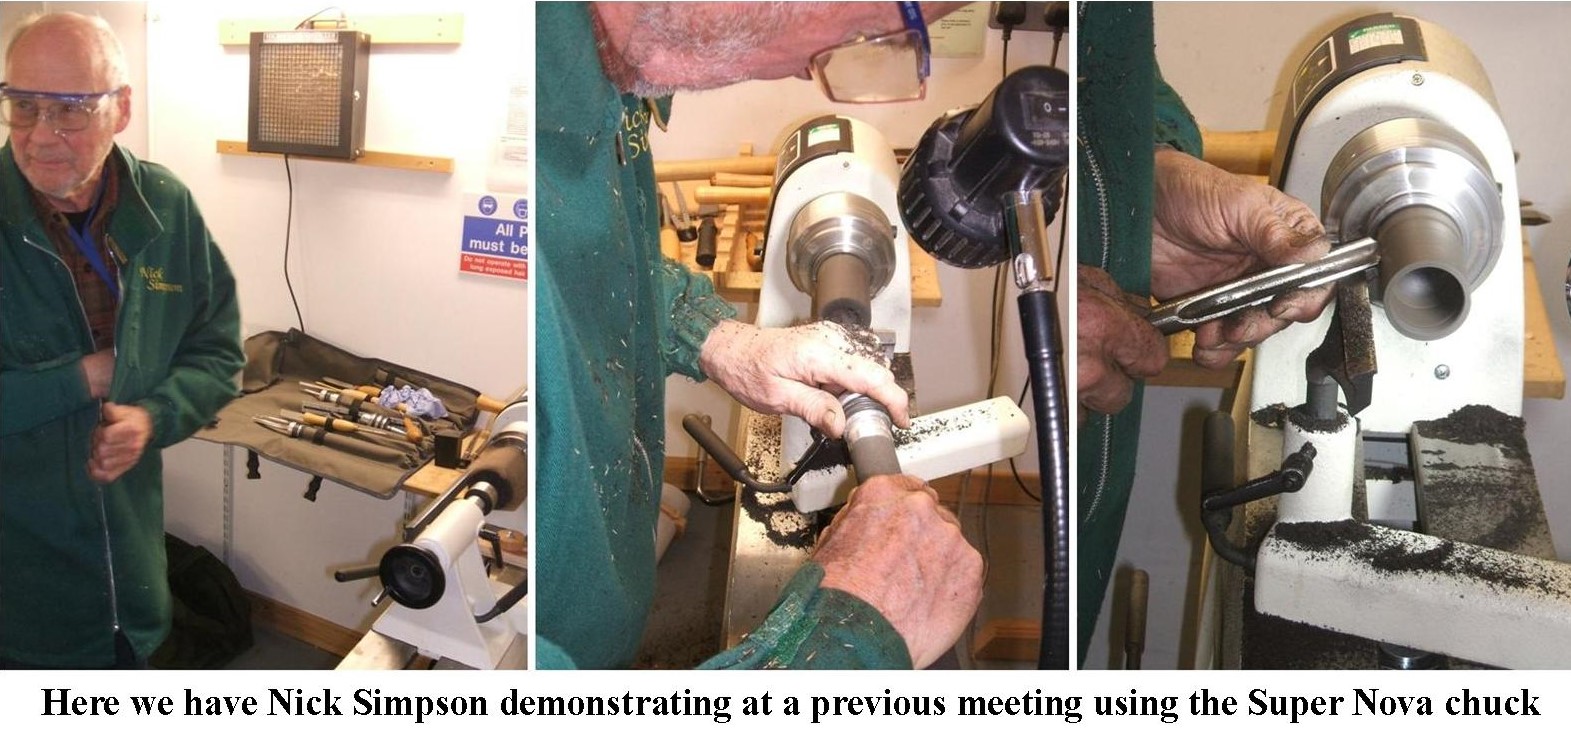
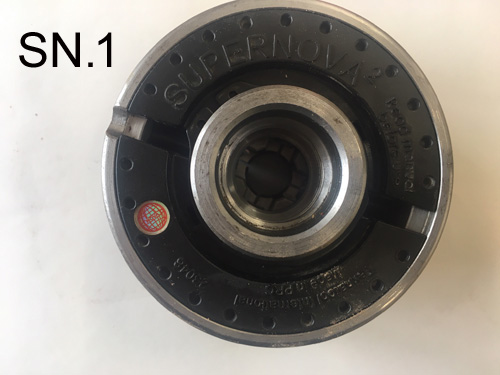
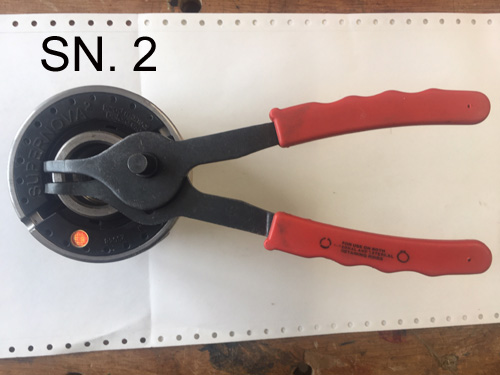
Picture 47 from Nick Simpson.
This composite was going to be my entry to Showtime.
It is an armistice tribute made entirely from turned wood in the style
of WW1 trench art. It is currently on loan to Poppy Scotland and can (in normal
times) be seen at their Inverness office.
It is 1: 1.5 scale as judged by the 9pdr shell casing. The platter is
about 7” diameter.
The platter and 9 pdr case are sycamore; the rifle shell cases are
holly, the fags are pine and the poppies with the ‘Poppy Scotland’ 4 petals are
stained Ash.
Finish was by sanding, ebonizing spray then Rustoleum Gun Metal spray
cut back with XXXX wire wool.
The candle was lit only for demonstration as it is not in a metal
holder.
Thanks for letting me show this piece.
Regards,
Nick Simpson.
Picture 48 from Tony Wilson.
I sent this
to Alec earlier today.I didn’t appreciate you wanted a comment.
Mine would be that these French rolling pins are
good for ‘limited’ turners and well received in these times of home baking.The
wood was spalted Maple and the finish was ‘Woodsafe’ oil in several layers.
All the best,
Tony Wilson.
Pictures 49 to 57 from Alec Mutch.
My own entries for the showtime are
as follows,
1, A
candelabra I made for a church, made from Elm.
2, My flock
of birds, made from Poplar for the bodies with heads of various darker
woods, all the bases were burr Elm.
3, A splated
Birch bowl with an element of natural edge left in, size, 205 mm in diameter by
150 mm deep.
4, A very
large Burr elm bowl I made for a local couple, the wood came from them, it
measured 525 mm in diameter by 240 mm deep.
5, A pair of
bowling balls turned into a table lamp and a small bowl, the wood is Lignum
Vite.
6, A Beech
double compartment bowl, getting the 2 hollows identical is quite tricky.
7, An Elm
plate with a Pebeo paint rim decoration, the plate was 300 mm in diameter by 50
mm deep.
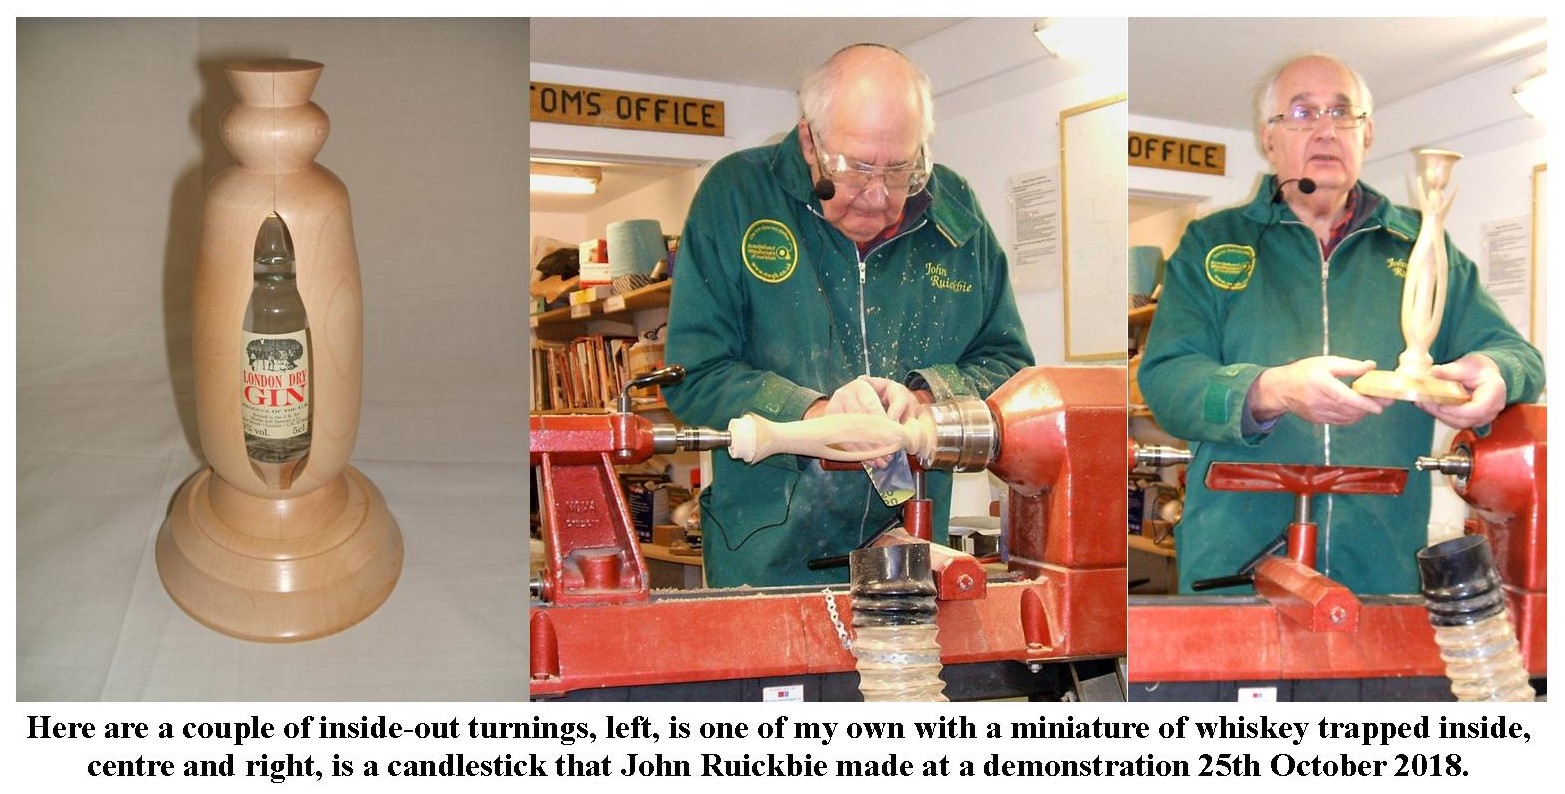
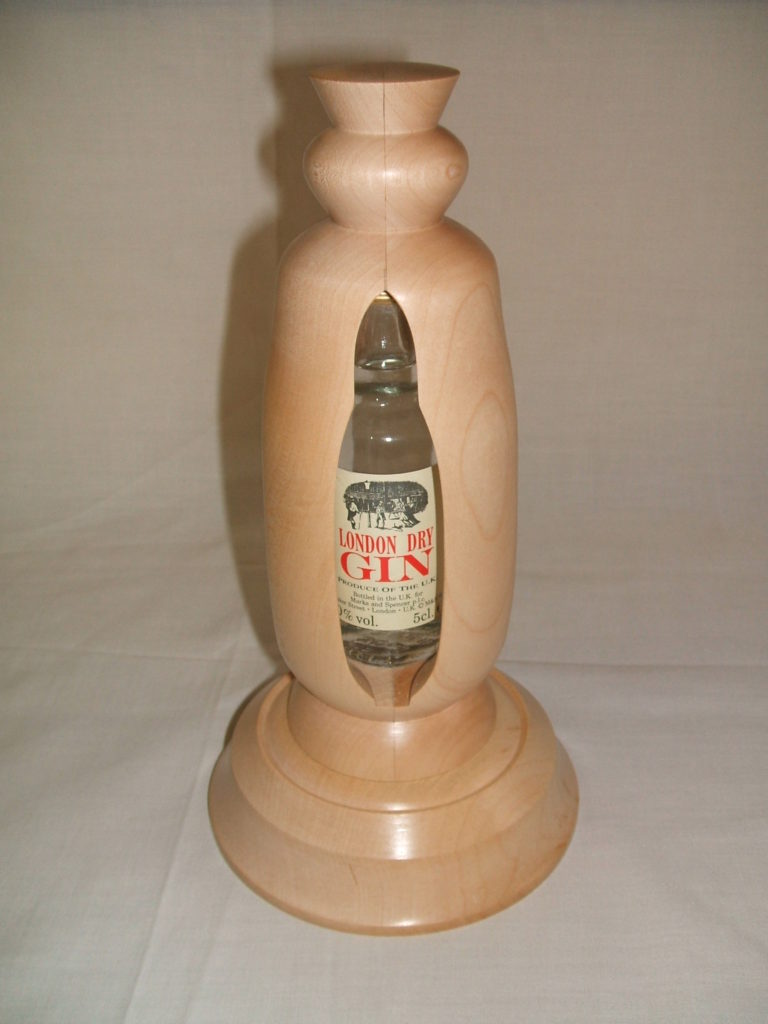
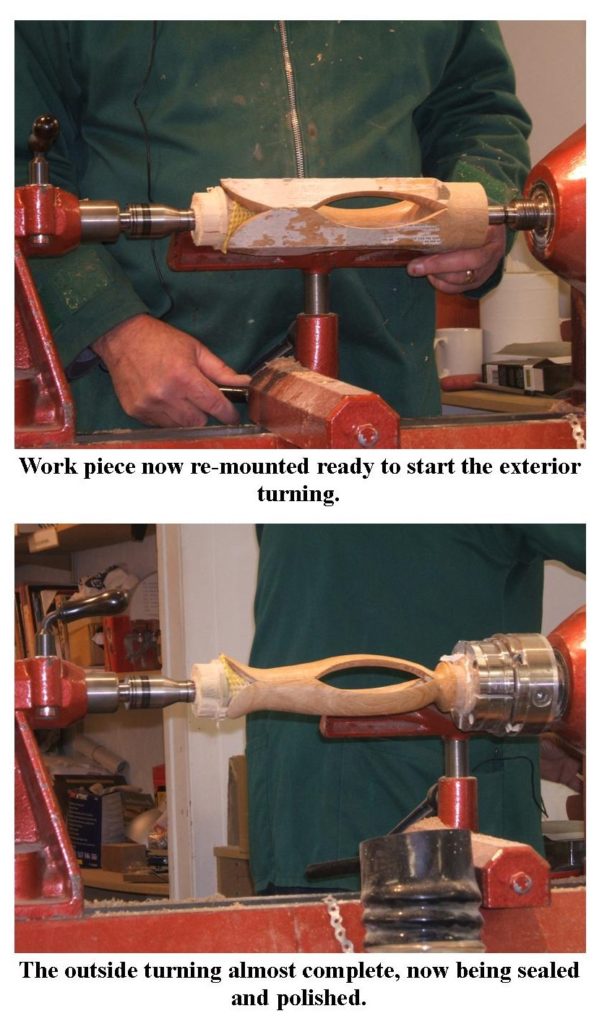
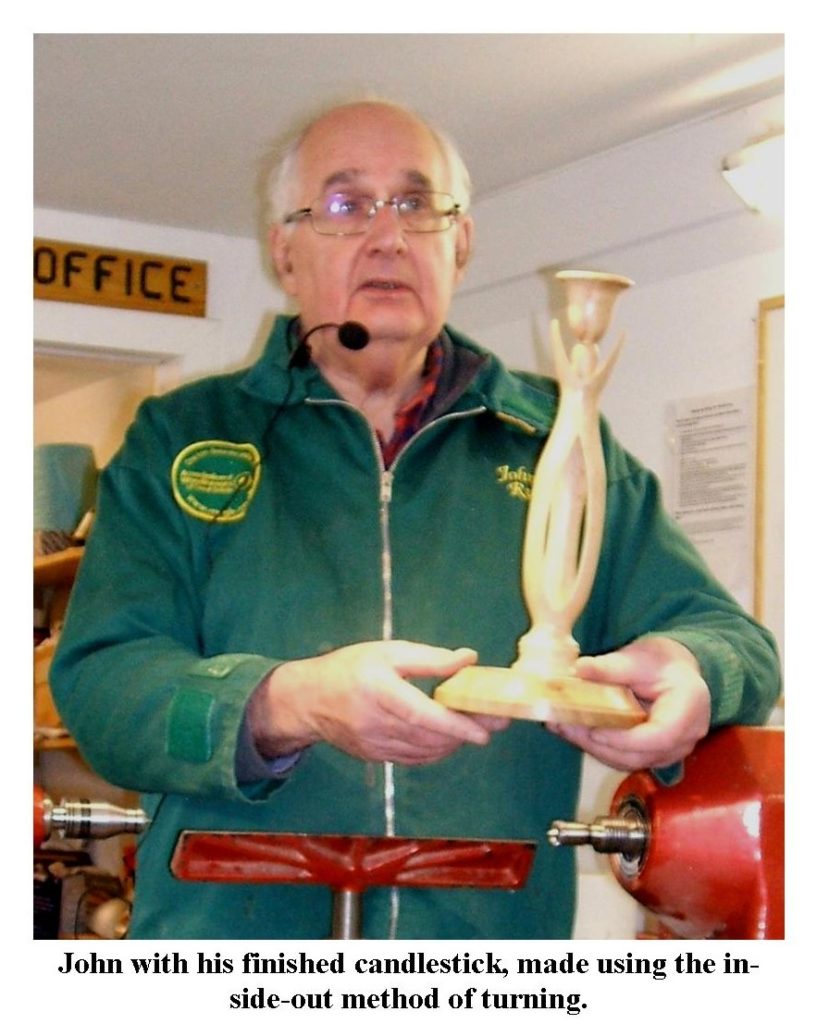
8, Candle stick
made from Beech, turned then cut and re-assembled, design by Stephen Hogbin
from Canada.
9, Triple
compartment bowl, made from Sycamore in the shape of a clover leaf, size about
250 mm by 250 mm.
All my work
is finished using the same procedure, one coat of sanding sealer rubbed back
with steel wool, followed by one coat of Melamine buffed to a soft sheen with a
paper towel.
Regards to
all,
Alec Mutch.
I would like to take this opportunity to thank all of you who took the time to make your work pieces and for sending your pictures to me, I hope this will give you all encouragement to take part in future virtual meetings, after all it’s the only way we can keep in touch at this present time.
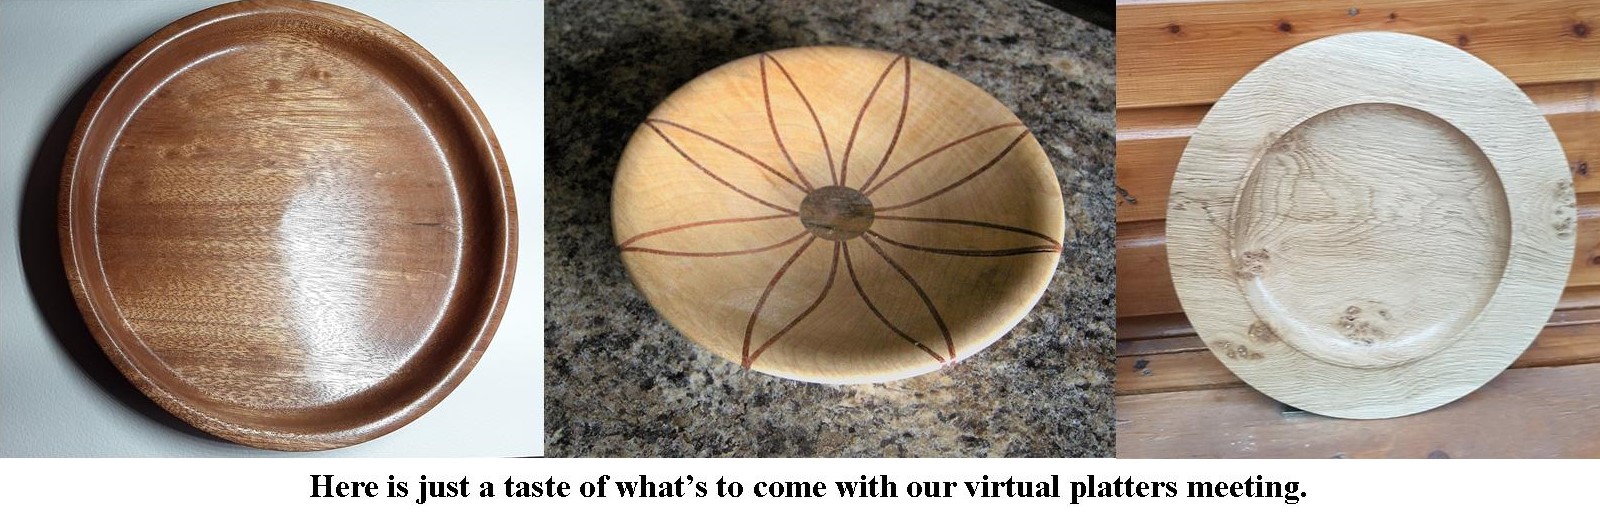
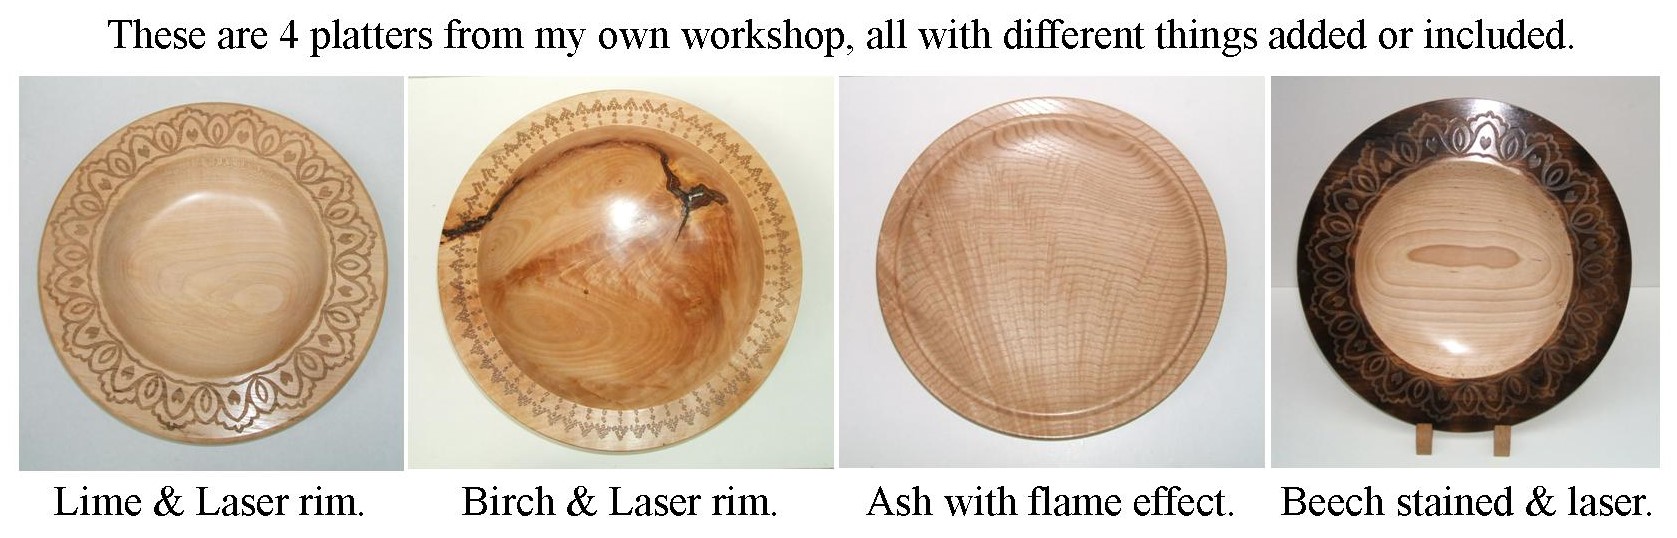
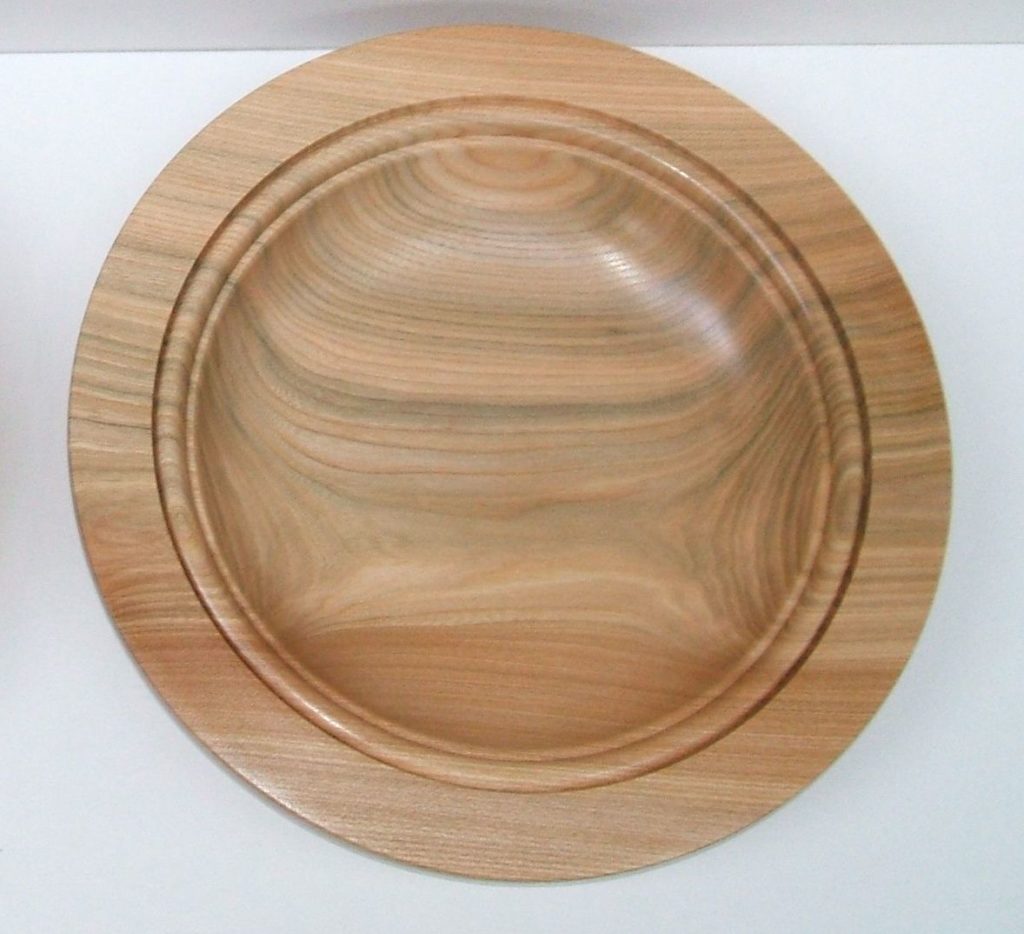
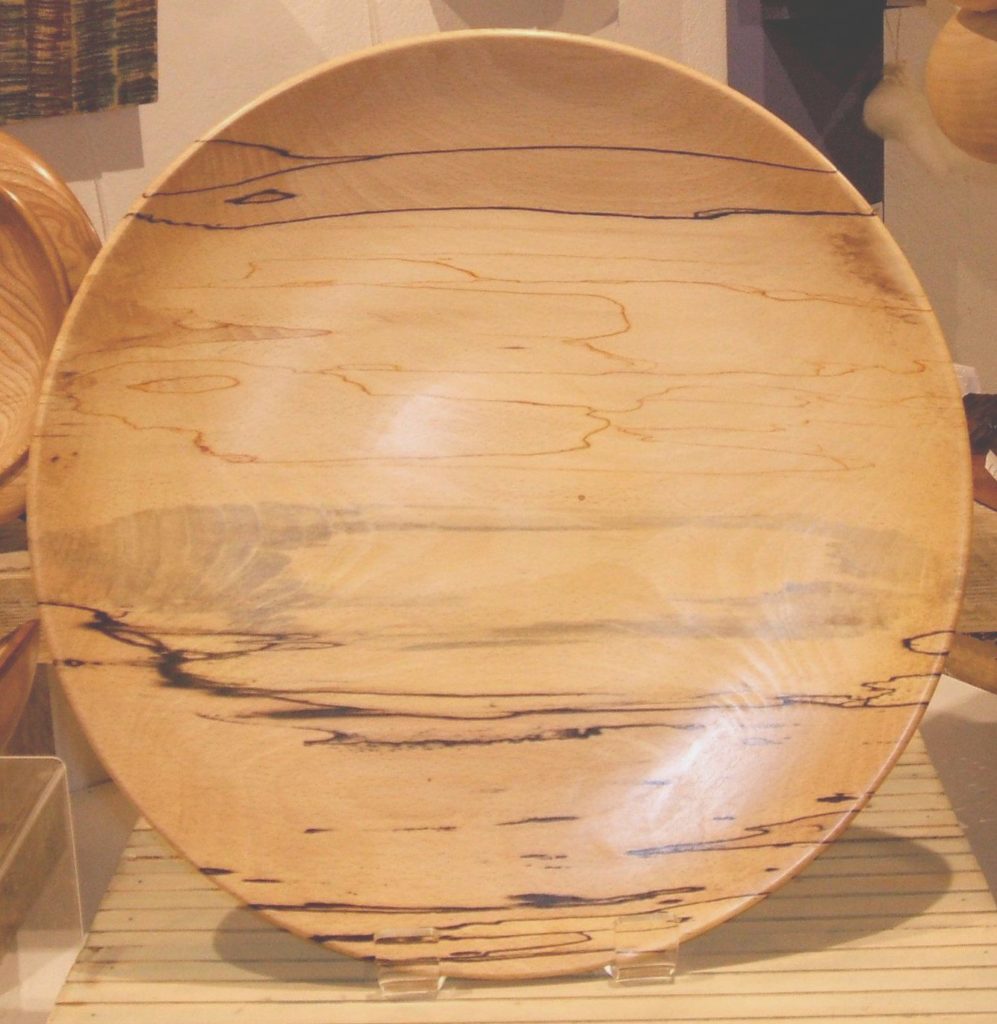
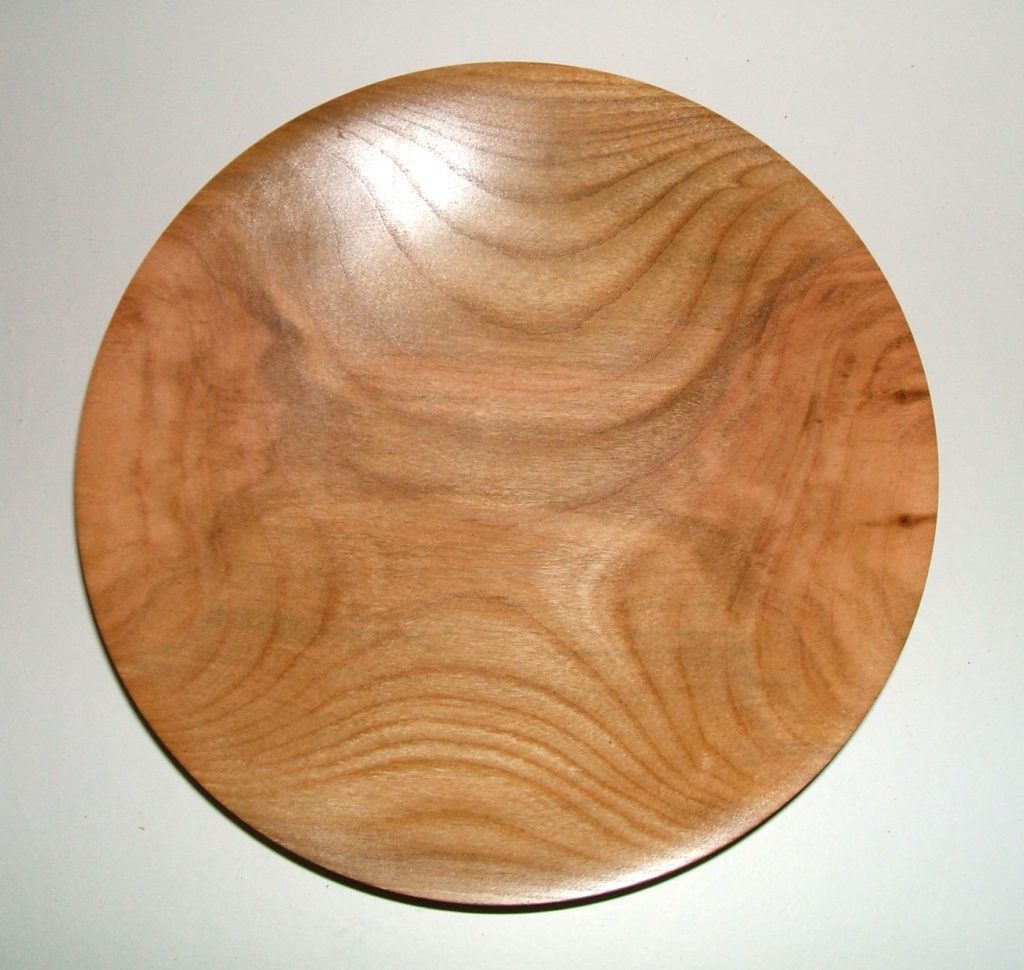
Our next virtual meeting will be on the 14th May 2020, that meeting was programmed to be all about making wooden platters, it was being organised by Peter Lawrence. It’s time to start to think about that virtual meeting now, so get your thinking caps on and make something really special for the platters virtual meeting, once made, send your pictures to me and I will upload them to our web site . In the meantime you can send me any pictures of anything else you have made or experienced and we will also accept any pictures from non members who follow us on facebook or indeed this site.
Do remember the clubhouse remains closed.