
Our meeting on Thursday 22nd June 2023 was a solo demonstration by John Ruickbie, John’s subject for the demonstration was to show the members an example of Open Segmented Turning and to go on to demonstrate how it was made. Due to the complexity of this type of turning John had to do a lot of the preparatory work at home and explain the procedure and the equipment required to make this type of turning.
Prior to starting with John’s demonstration we had a short talk by Joe Webster on the safe use of Fire Extinguishers, Joe’s talk covered all types of Fire Extinguishers, Co2, Water and Powder, during his talk it was discovered that the club did not have a Water Fire Extinguisher, this situation was rectified and a Water Extinguisher has now been ordered.

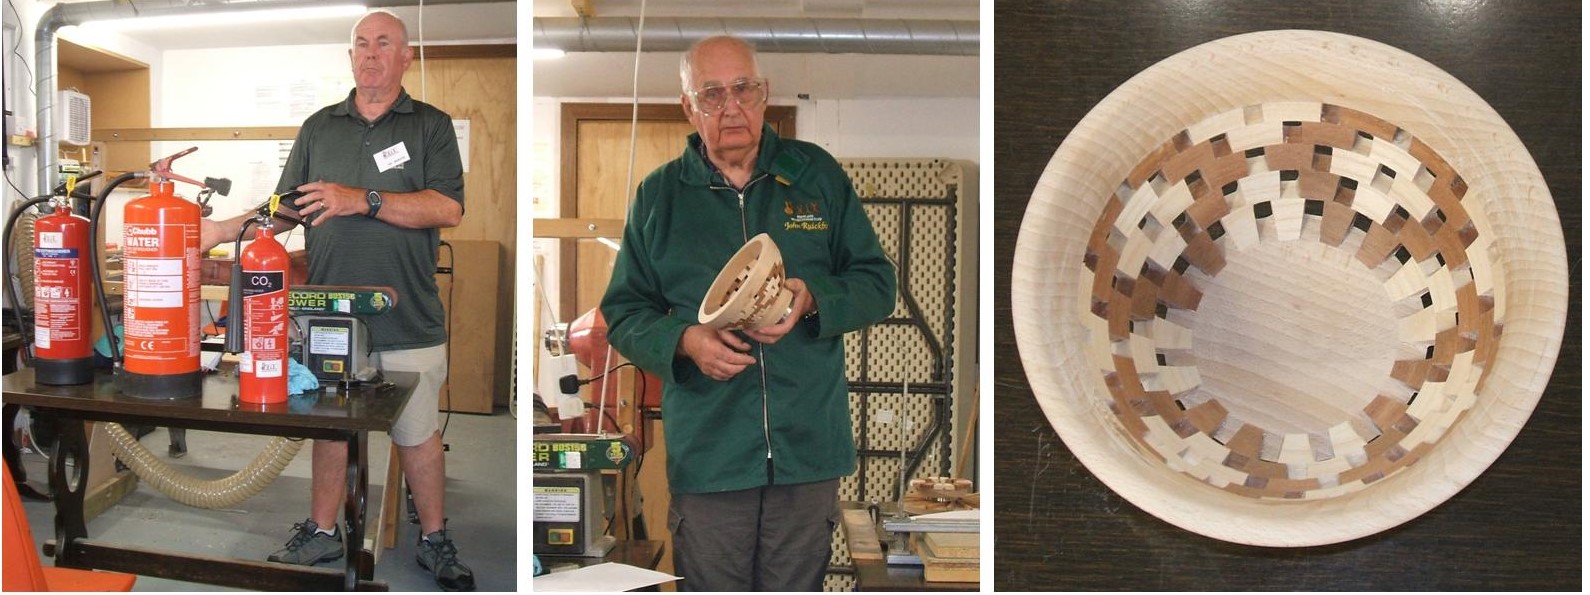
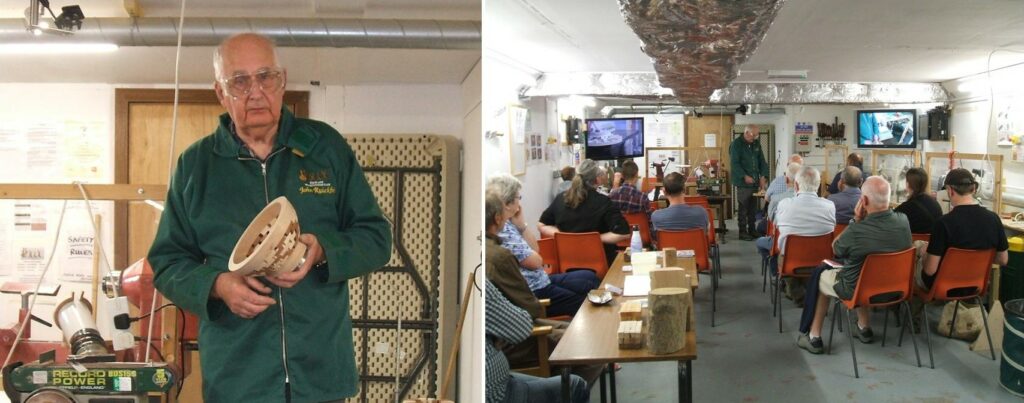
Left, here is Joe making his opening remarks to the members on the safe use of Fire Extinguishers. Right, here Joe is pointing out how when and where a Co2 Fire Extinguisher should be used, he went on to explain the merits of the other 2 Fire Extinguishers.
John Ruickbie now carried on with his demonstration, passing around a couple of examples of Open Segmented Turnings for the members to see, he started with a general description of what Open Segmented Turning was all about, and how he came to make them, he also mentioned that there would be some bits of equipment required to make these, all of the additional equipment John made for himself after seeing on line some Open Segmented Wheels by Sue Harker, type in Sue Harker on your browser and you will see what’s available.
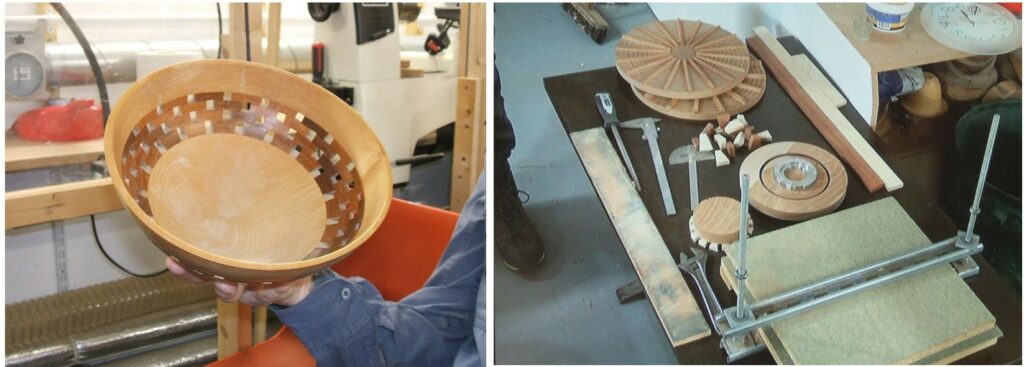
Left, one of the examples John sent round the room at the start of his presentation. Right, some of the items required to make these, John made his own.
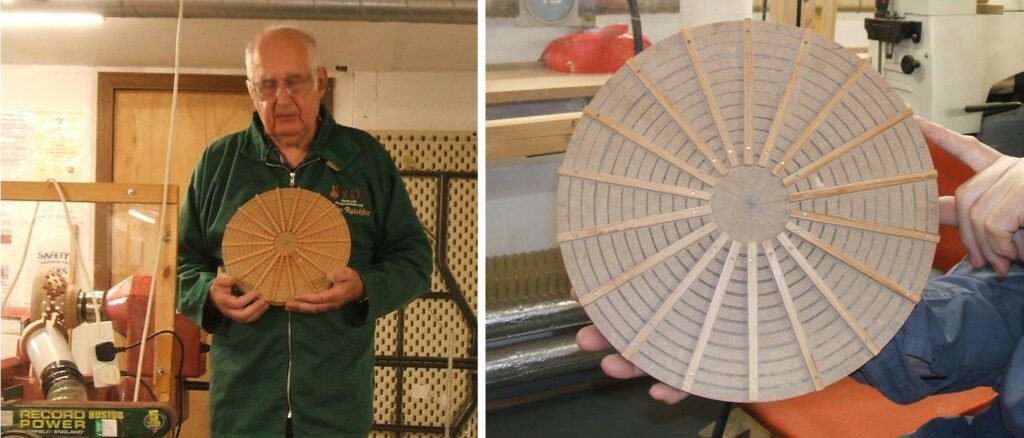
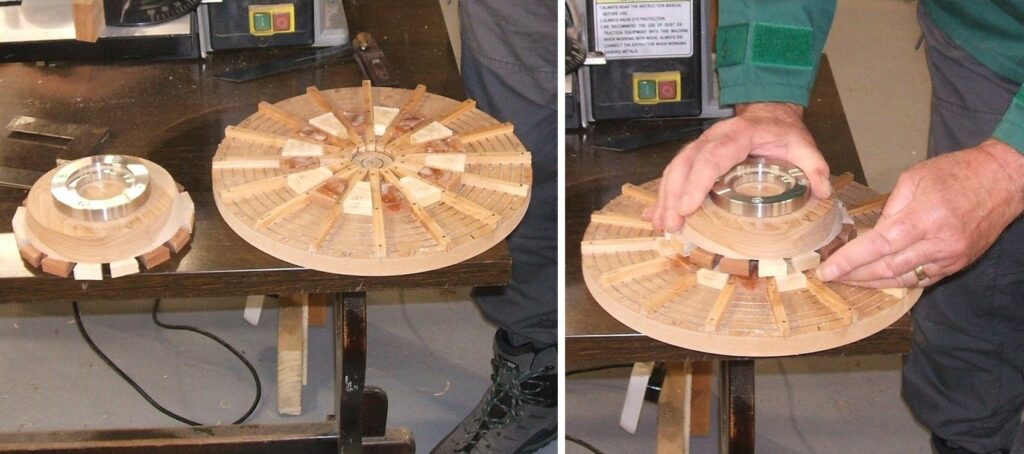
Left, Here is John as he starts his presentation, showing and explaining the device required. Right, a close up of his Open Segmented Wheel, it was inspired by Sue Harker but made by himself, Sue Harker has them on sale on the web for 6, 12 and 18 segments at prices of £16 to £26 depending on the number of Segments, but make your own, just be accurate with the placing of the spines.
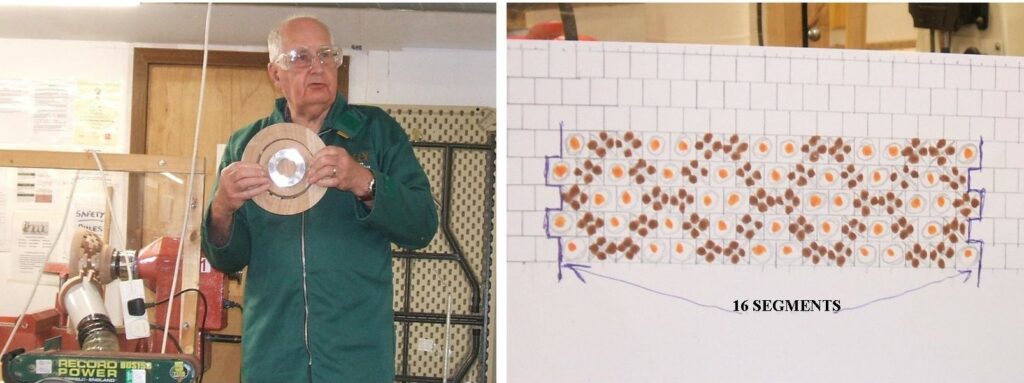
Left, John shows the base of one of his bowls, explaining that the Face Plate Ring attached to the base remains on the base until all the gluing and turning is complete, this is to preserve the accuracy when being re-mounted. Right, John worked out the design he required on a simple chart, this was for a 16 Segment bowl, he coloured them for clarity for the members.
Left, here John is showing one that he had partially done at home and was to finish it here. Right, A view of the members seated as John gave his presentation.
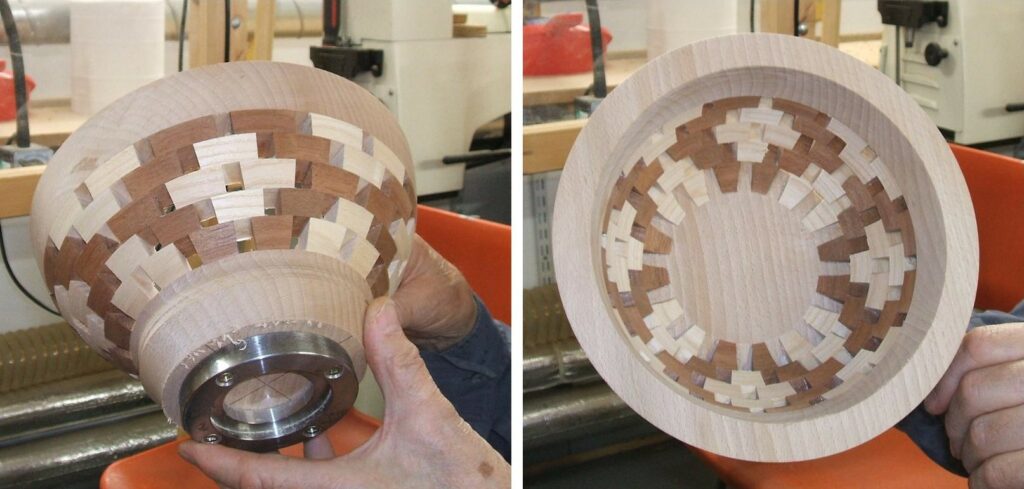
Left, the outside of his bowl with the Face Plate Ring attached. Right, a view inside the bowl, still some turning to do to bring it down to the desired wall thickness.
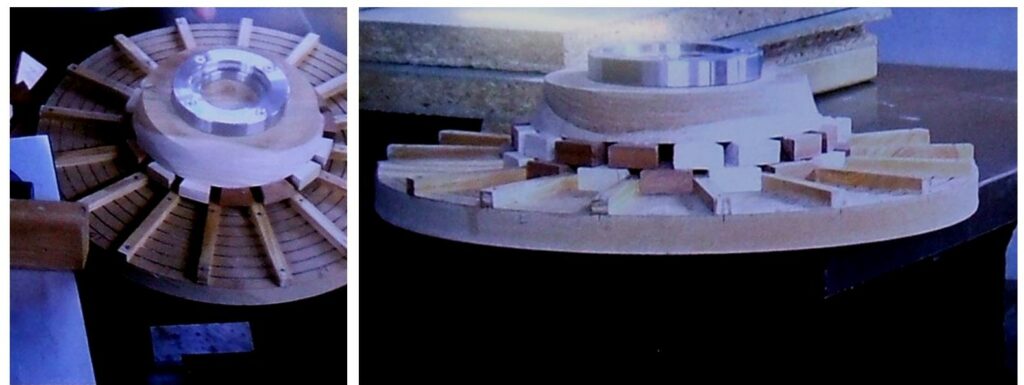
Left, here John is showing how the wheel is required for mounting the segments. Right, a 2nd layer being added, note the 2nd layer overlaps the gaps on the first layer.
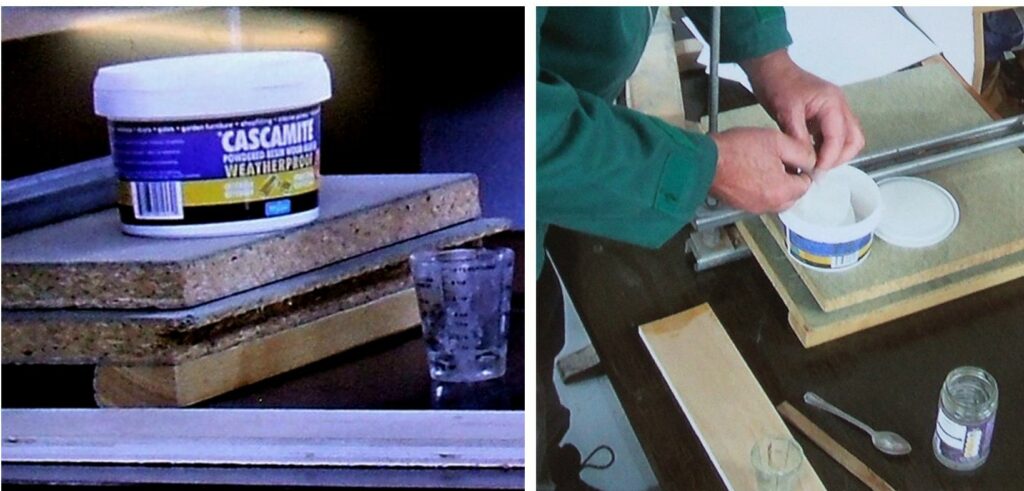
Left, the glue recommended for this type of work is Cascamite, this is a powder glue that you mix with water and apply sparingly. Right, Here John is mixing the glue to a fine paste, don’t mix too much of this glue, it can not be saved anything that’s left over just goes to waste.
Left, the wheel with the 2nd layer of segments installed. Right, having applied the glue sparingly John is positioning the 1st layer on top of the 2nd layer, note the overlap again.

Left, John is now tightening down his home made clamp. Right, the clamp fully tightened down, this needs to be left for 24 hours to cure before continuing with the next layer.
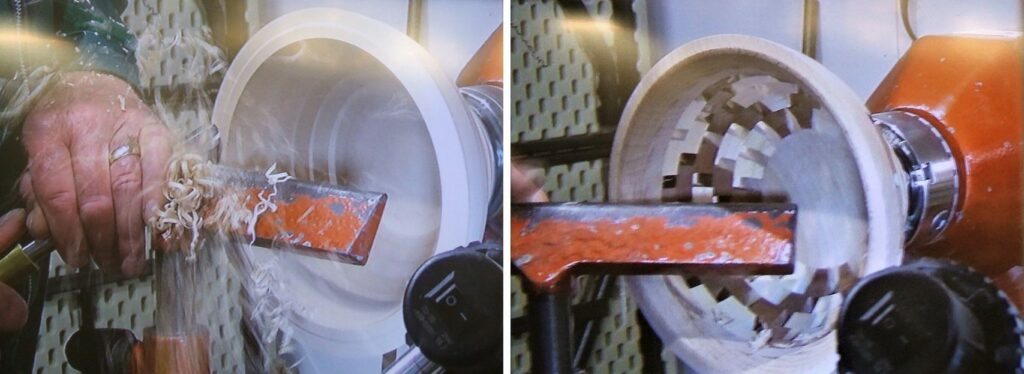
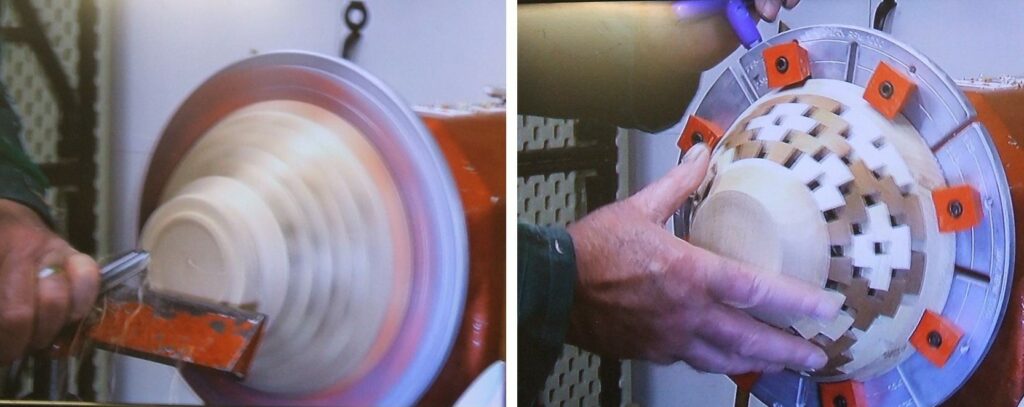
Left, now back to the bowl that John was to finish, here he can be seen reducing the wall thickness on the inside, John recommends using a wider tool than would be used for a conventional bowl, it seems to glide over the open areas more easily. Right, the wall thickness now down to the desired thickness.
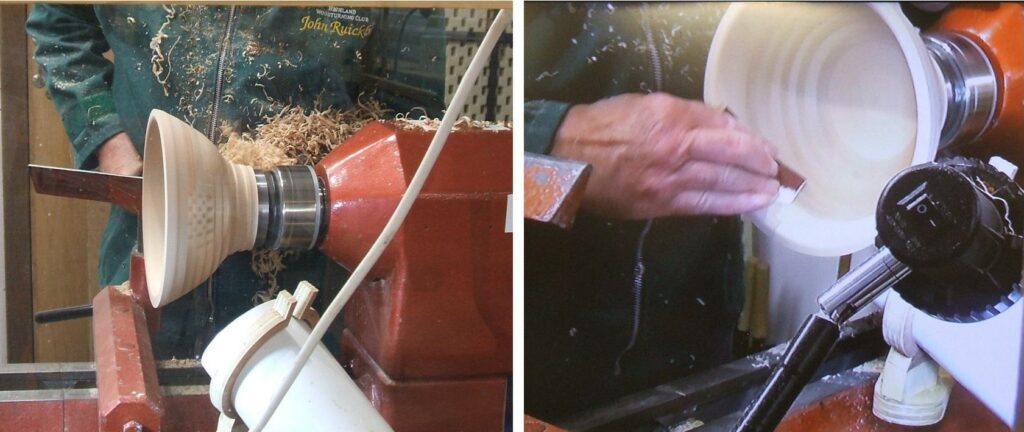
Left, a little work on the outside just to refine the shape. Right, sanding of both the inside and the outside in progress.
Left, the sanding complete. Right, now using the Bowl Jaws the bowl is turned around ready for the Face Plate Ring to be removed and the base re-worked.
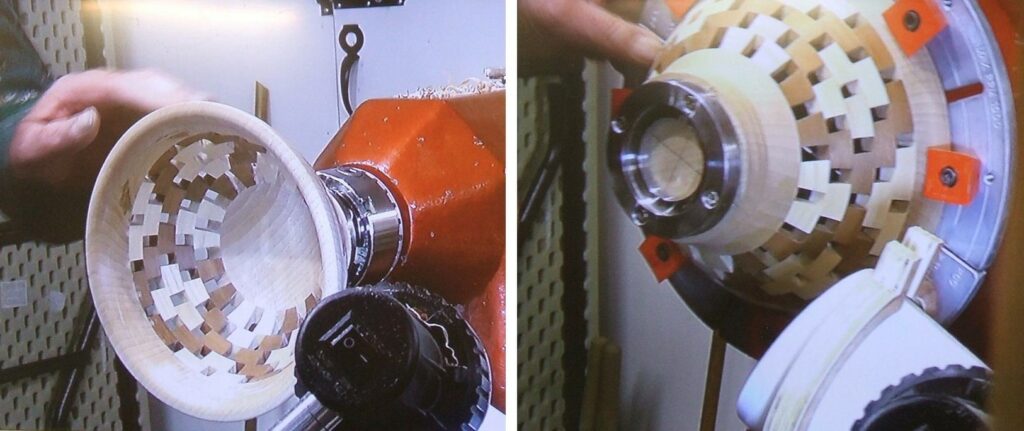
Left, the base being re-worked, this would be taken down to a final thickness and then sanded. Right, the bowl being removed from the Bowl Jaws, all that’s required now is to apply 3-4 coats of a finishing oil.
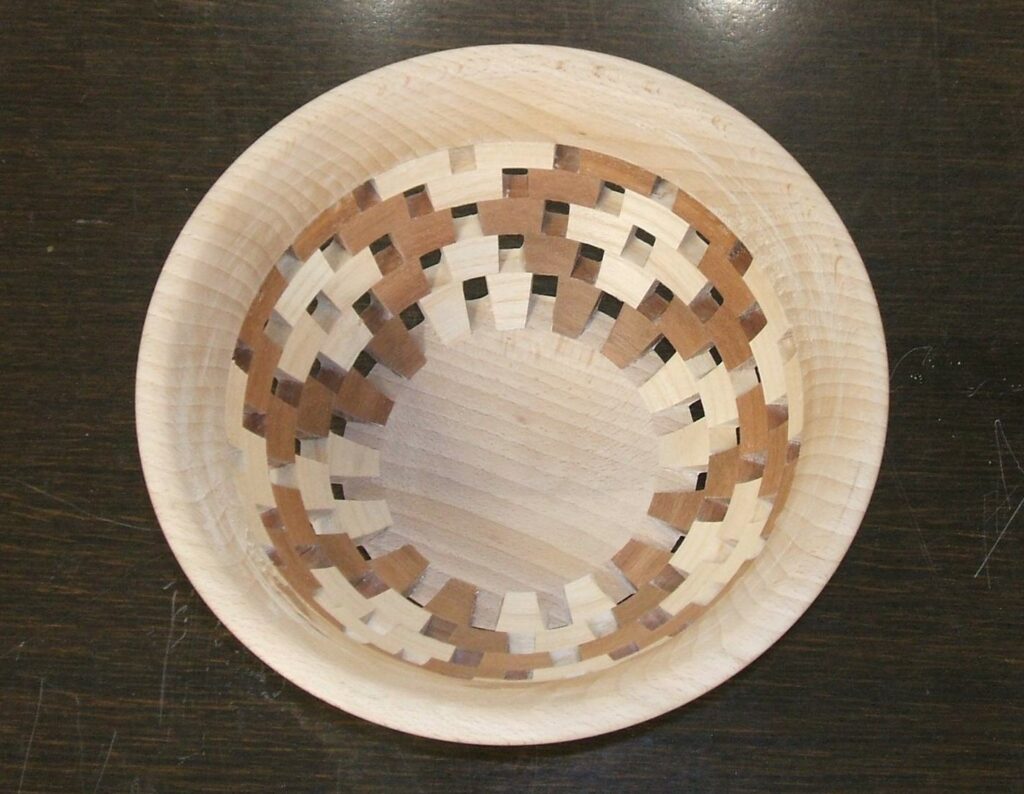
The finished bowl.
John was asked to make available some of his paperwork on the layout chart, I have included them here, if you need any further information I’m sure John will be only too pleased to provide that.
That concludes John’s presentation, it was very well received by all the members present and he was thanked for his efforts ending with John getting a huge round of applause.
Our next meeting is on the 6th July, it’s being handled by Alan Smith and the subject will be making shallow plates or bowls, all 5 lathes should be in use.