
Our meeting this week on Thursday 7th July 2022 was all about finishing materials and their use, the meeting was organised by Errol Levings and was to have 4 people doing presentations on different aspects of finishing. However the situation with Covid reduced this to only 2 people doing the presentations, Errol and myself. This meant that some of the presentation would now be carried forward to a meeting later in the year.
We also had a problem with the in house camera operator as he too had to isolate due to Covid. However Phil Moore our web master suggested that he could possibly record some of the meeting on his mobile phone and create a video of the presentation.
Look out for the video from Phil in the next few days.
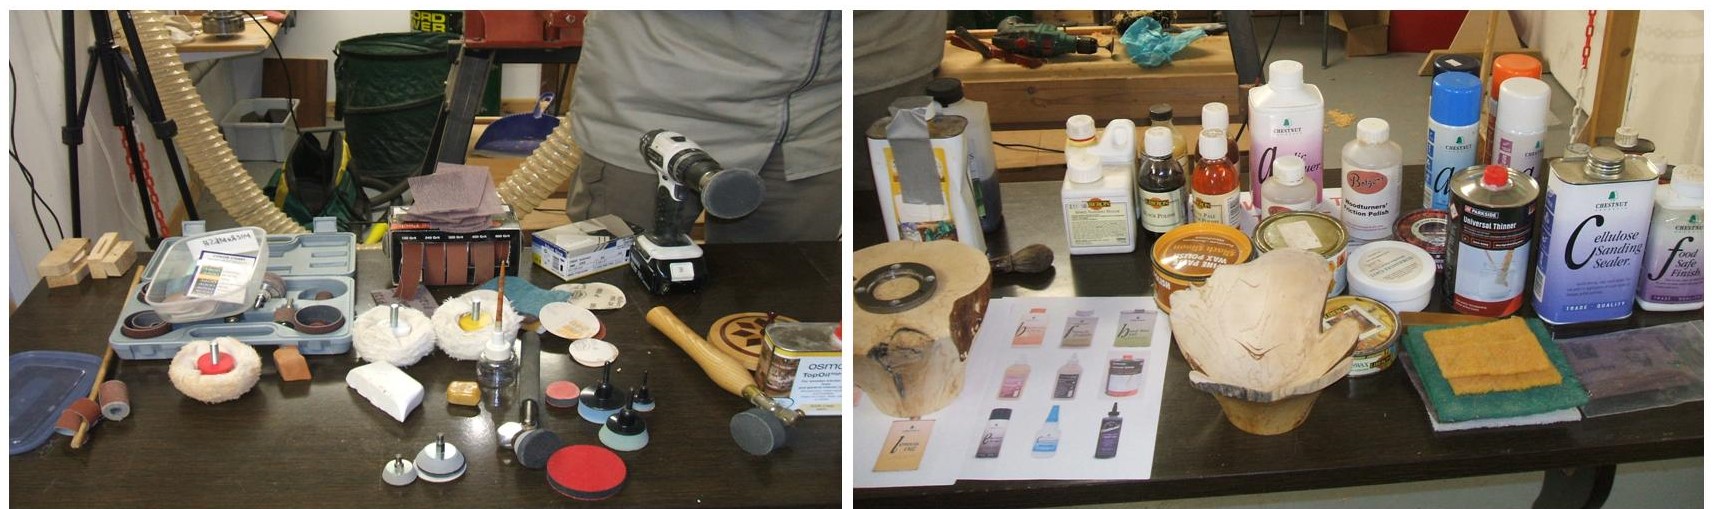
We went with this idea and carried on the meeting as normal with Errol being up first, he explained what he usually did during the finishing process and gave a short demonstration on preparing the item to be finished, explaining the sanding process before applying a sealer and a final finish. Errol went through the use of all of the equipment he had brought for the members to see and invited questions from the members.
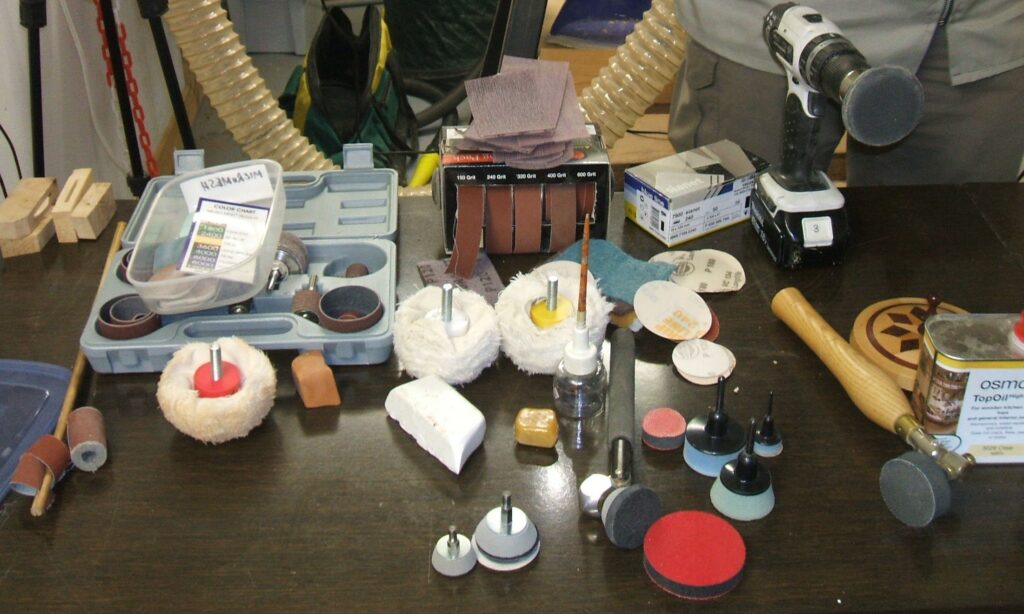
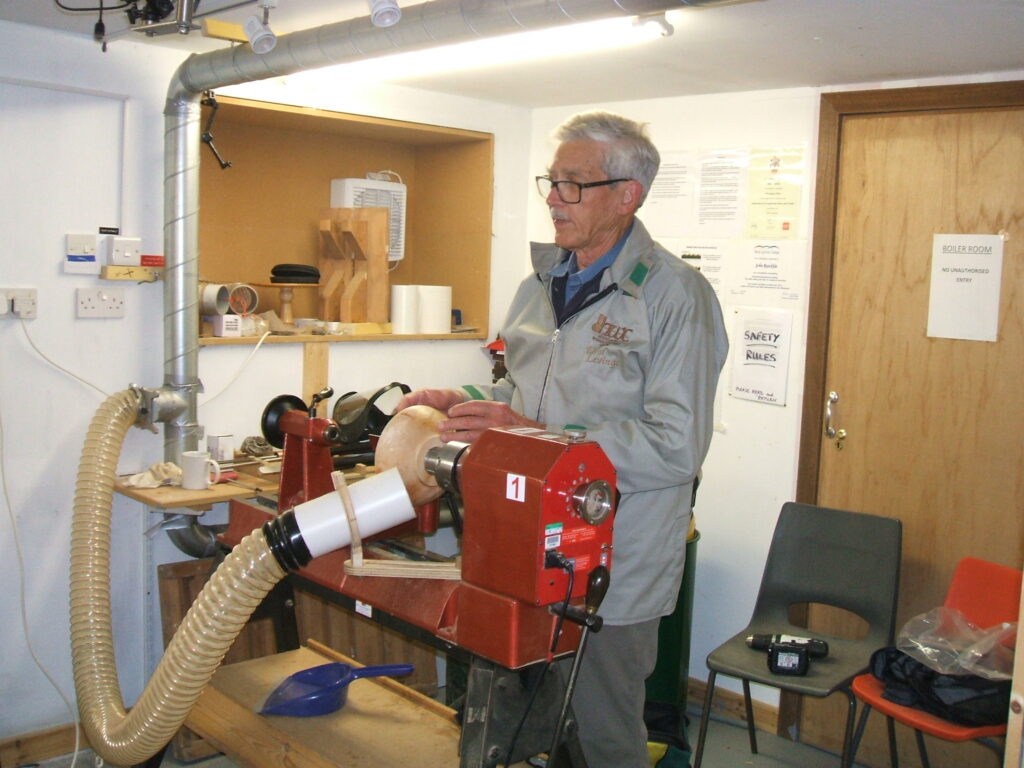
I was up next and went through some of the items I had brought for the members to see, most of my presentation was verbal with a short piece of work using the Powerlock System for sanding on a natural edged bowl.
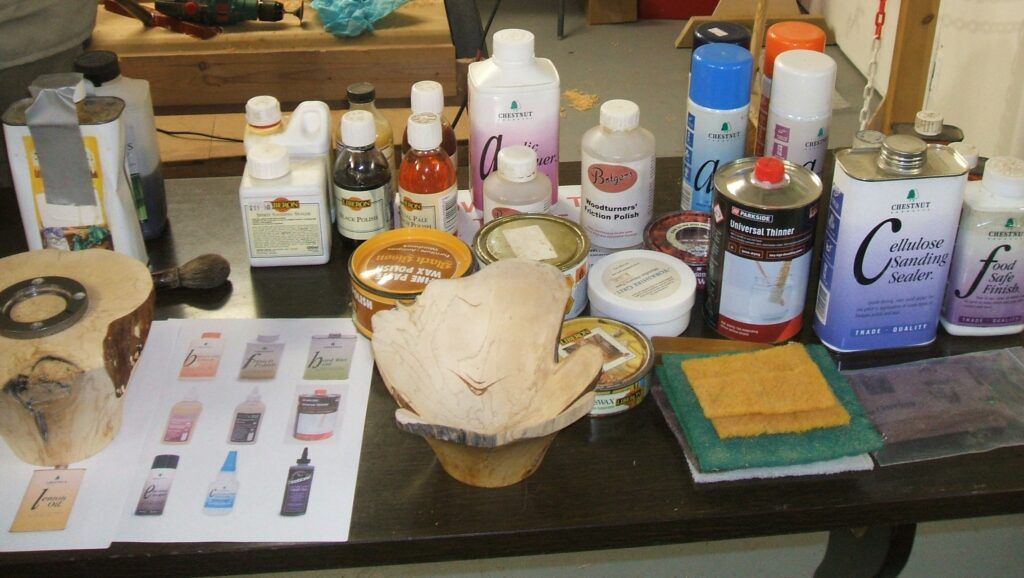
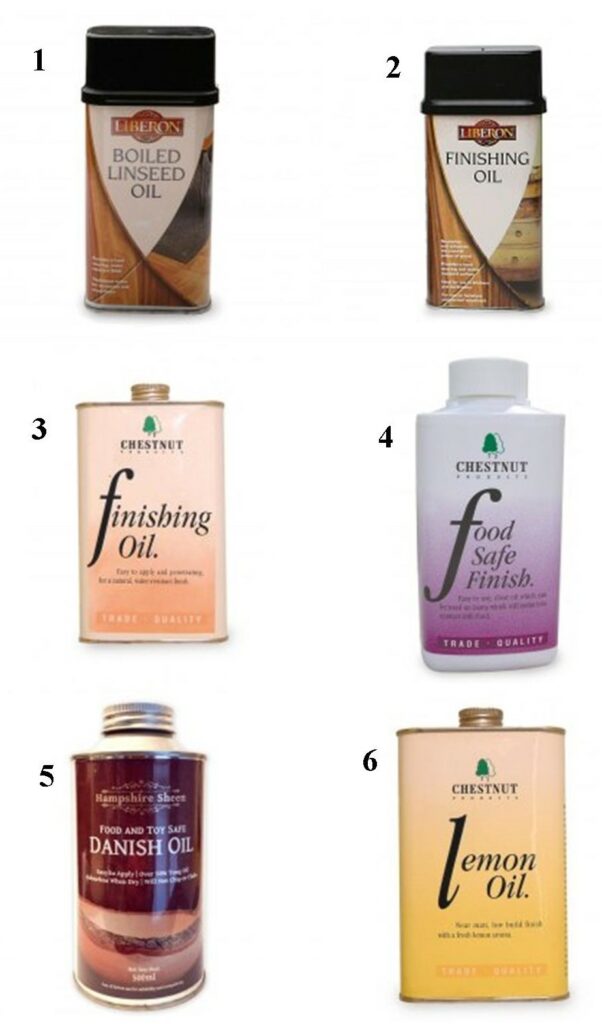
OILS.
1, BOILED LINSEED OIL.
A mellow patinated finish on new or stripped wood, suitable for most wood Oak being an exception, the Tannic acid in oak can react with this type of oil. Can be slow to dry in cold or humid conditions.
2, LIBERON FINISHING OIL.
A good quality oil for interior use only, it’s heat, alcohol and food acid resistant, and is hard wearing, water resistant once several coats have been applied, allow 24 hours between coats and apply a minimum of 3 coats, this will also increase the gloss effect. This oil is also EN71 approved safe for toys. It too is affected by weather conditions in the drying time, it’s roughly similar to that of the Chestnut oils. Mylands do a similar oil that I found to be slightly better on the drying front at say 50 degrees but again if the weather’s cold or damp bring the items into your house to dry.
3, CHESTNUT FINISHING OIL.
A blend of oils for interior use only, it forms a seal on wood giving a tough water resistant finish, several coats are required to attain the best results, additional coats should be applied at 24 hour intervals, these will create a fine gloss finish and it’s EN71 approved safe for toys. Drying time is again affected by temperature and humidity, it would appear a bottom temperature of at least 55 degrees is required for this oil to dry within the time. Take the item indoors for drying in cold or damp weather.
4, CHESTNUT FOOD SAFE FINISH.
A clear food grade finishing oil for fruit bowls, salad bowls, chopping boards, cheese boards and any other food retentive wooden vessels. Dries to a satin finish with a high degree of water resistance which will withstand wiping with a damp cloth, a minimum of 3 coats are required, again allow 24 hours between coats, a top up coat could be applied at later dates depending on how much use the item oiled is being used. Drying using this oil appears to be quicker than most other oils and less weather dependant.
5, HAMPSHIRE SHEEN DANISH OIL.
Another food safe and toy safe oil again approved by the EN71 standard when dry. This is a thinner oil with higher penetration qualities and is less smelly than other Danish oils, it’s odourless when dry, it nourishes the wood is deeply penetrating and gives very good protection, does not chip or flake or peel and is water resistant. The same criteria for applying and drying applies to this oil too.
6, LEMON OIL.
Lemon grass oil is used for the inside of things like boxes, cabinets and the inside of drawers, it leave a pleasant Lemon aroma when dry. It dries to a matt finish is non tacky and enhances the look of bare timber. Again apply 2 or 3 coats for best effect and allow 24 hours between coats, also temperature dependant.
There are other oils available to the woodworker.
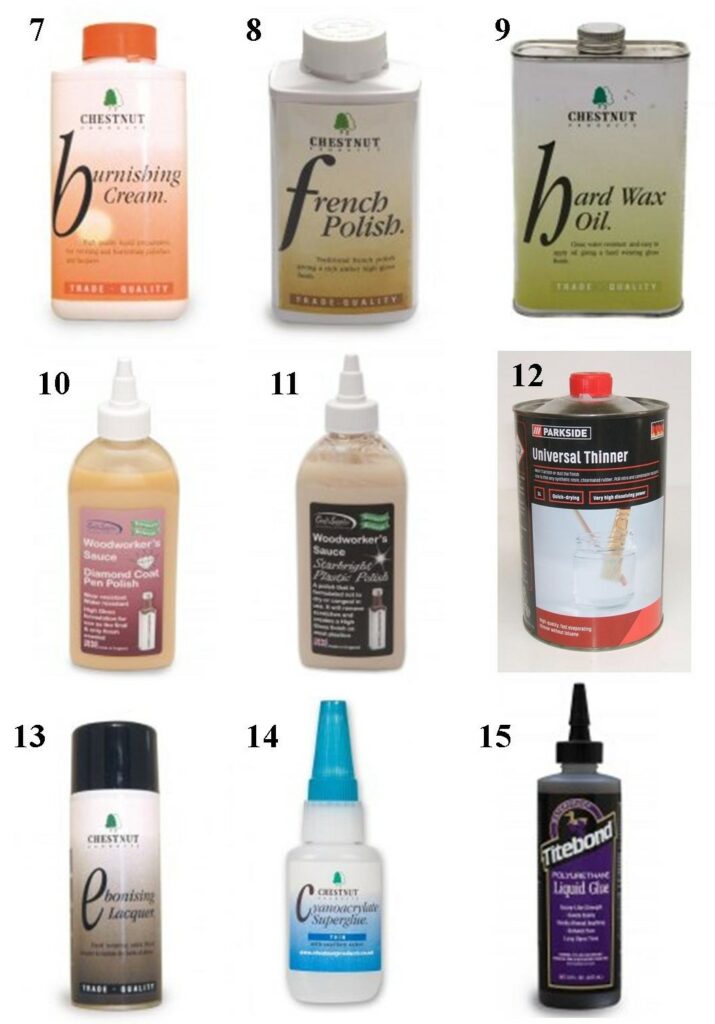
7, BURNISHING CREAM.
Used to heighten a gloss finish on previously polished surfaces, can also be used to enhance the gloss on newly applied lacquers or Polishes.
8, CHESTNUT FRENCH POLISH.
A traditional French Polish, giving a rich amber high gloss finish to any article, applied with a French polishing mop and working with the grain of the wood, benefits from the use of the Burnishing Cream after the final coat has been applied and allowed to dry for at least 24 hours.
9, CHESTNUT HARD WAX OIL.
A tough clear finish, hardwearing and easy to apply even on larger items, available in Gloss or Satin finish. Stays wet for long enough to get a smooth even finish, but is touch dry and tack free in about 30 minutes. A second coat could be applied as early as 6 hours, weather dependant. A high gloss can be achieved after 3 coats, rubbing back the first 2 coats with a very fine abrasive, benefits from the use of a Buffing Wheel or Burnishing Cream for extra shine.
10, WOODWORKERS SAUCE FOR WOOD PRODUCTS.
This is primarily a polish used to polish wooden pens, your normal sanding, sealing and polishing procedure should be followed as normal. Lacquer or other finishes can be greatly enhanced by using this product as a final polish, applied with a soft cloth or paper towel and buffed up with the lathe running.
11, WOODWORKERS SAUCE FOR PLASTIC PRODUCTS.
No need to seal on any of the plastic materials acrylic or artificial Ivory, bring the finish to a high standard using very fine abrasives, these can be purchased as fine as 12000 grit, use this polish as a final coat, applied as with item 10.
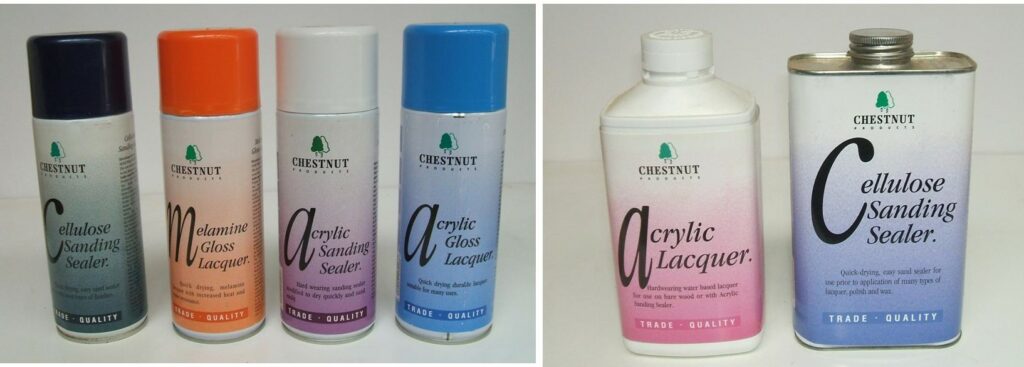
12, GENERAL PURPOSE THINNERS. These thinners can be used with Cellulose sanding sealer, Melamine Lacquer, Acrylic Lacquer and some of the waxes. The amount used when diluting finishes is down to the individual and how it performs for them but a thinner finish will always be easier to apply although you may need to have an additional coat or two.
13, EBONISING SPRAY.
Used to colour things like Chess Pieces now that getting Ebony or African Blackwood are almost impossible to obtain. Sand and seal in the normal way then use the Ebonising Spray to colour the pieces, this should be done on the lathe with the speed right down to below 100rpm and the spray held about 250mm away from the item being sprayed, try not to over spray and keep the lathe running for a short time after spraying this should eliminate runs in the paint.
14, SUPER GLUE.
Can be used as a finish for small items like pens, takes a little practice to perfect, apply some glue to a pad of leather or similar, run the lathe very slowly about 200rpm is ideal and slide the pad with the glue on it along the length, you may need to do it more than once, wait till it’s completely dry before attempting a second coat.
15, TIGHTBOND POLYURATHANE GLUE.
Not a finish as such but vital if you are to make pens or anything that requires the 7mm tubes. This glue works by expanding so will fill any void, benefits from a little moisture to activate the expansion process. Dampen the tube, apply the glue to the tube, 2 or3 strips of glue is all that’s required, turn the tube as you push the tube into the wood and leave it to set before turning, overnight is normally enough time for the glue to set, remove any excess from either end before mounting in the lathe.
The meeting was well attended and lots of questions were asked most of which Errol and myself explained, the meeting was running late but there was time for the members to come to the presentation tables to view the products.
Our next meeting will be on the 21st July 2022 and the subject matter will be bowls and platters, there should be all 5 lathes in operation, hope to see you all there.